Brianna
Posts by this author:


Celebrating Danimal’s 40th Birthday was way too much fun not to share! 

+ My Outfit is only $9 right now!! I took it to my tailor to pull it in (was a bit loose on me) and pull up the straps, to attempt less boob-age.

+ Fuzzy coat from Crossroads – only $16! Have fun dressing up, doesn’t need to be pricey 😉


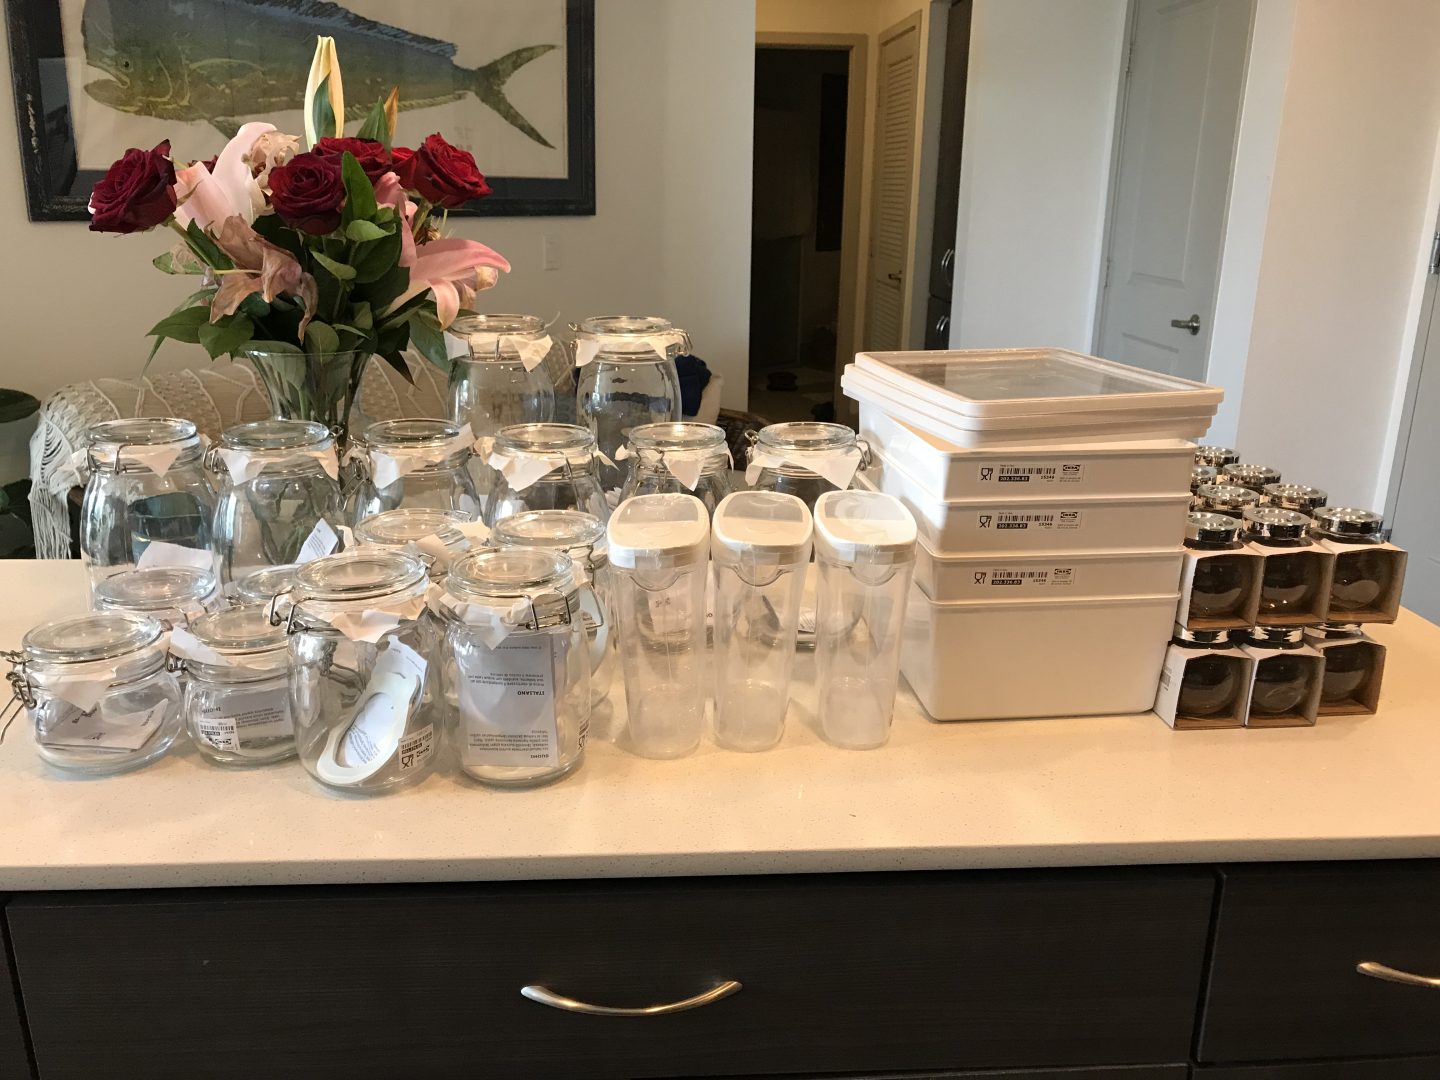
Apartment living 101: maximize storage space… every darn centimeter! Living in a one bedroom apartment for two seems like plenty of room the first year and then you start to realize how fast you can outgrow the space. Our food processor alone takes up half the kitchen. Each new item we bring home stresses me out, but I love growing our home and actually geek out to these organization projects. You have to get creative with the space you have and the kitchen was my first task. All of this was super affordable – less than $200 from IKEA. You can definitely up the quality of containers, but I probably won’t convert until I own a home and completely re-do our kitchen. 

(ps… be prepared… don’t judge our before photos.)

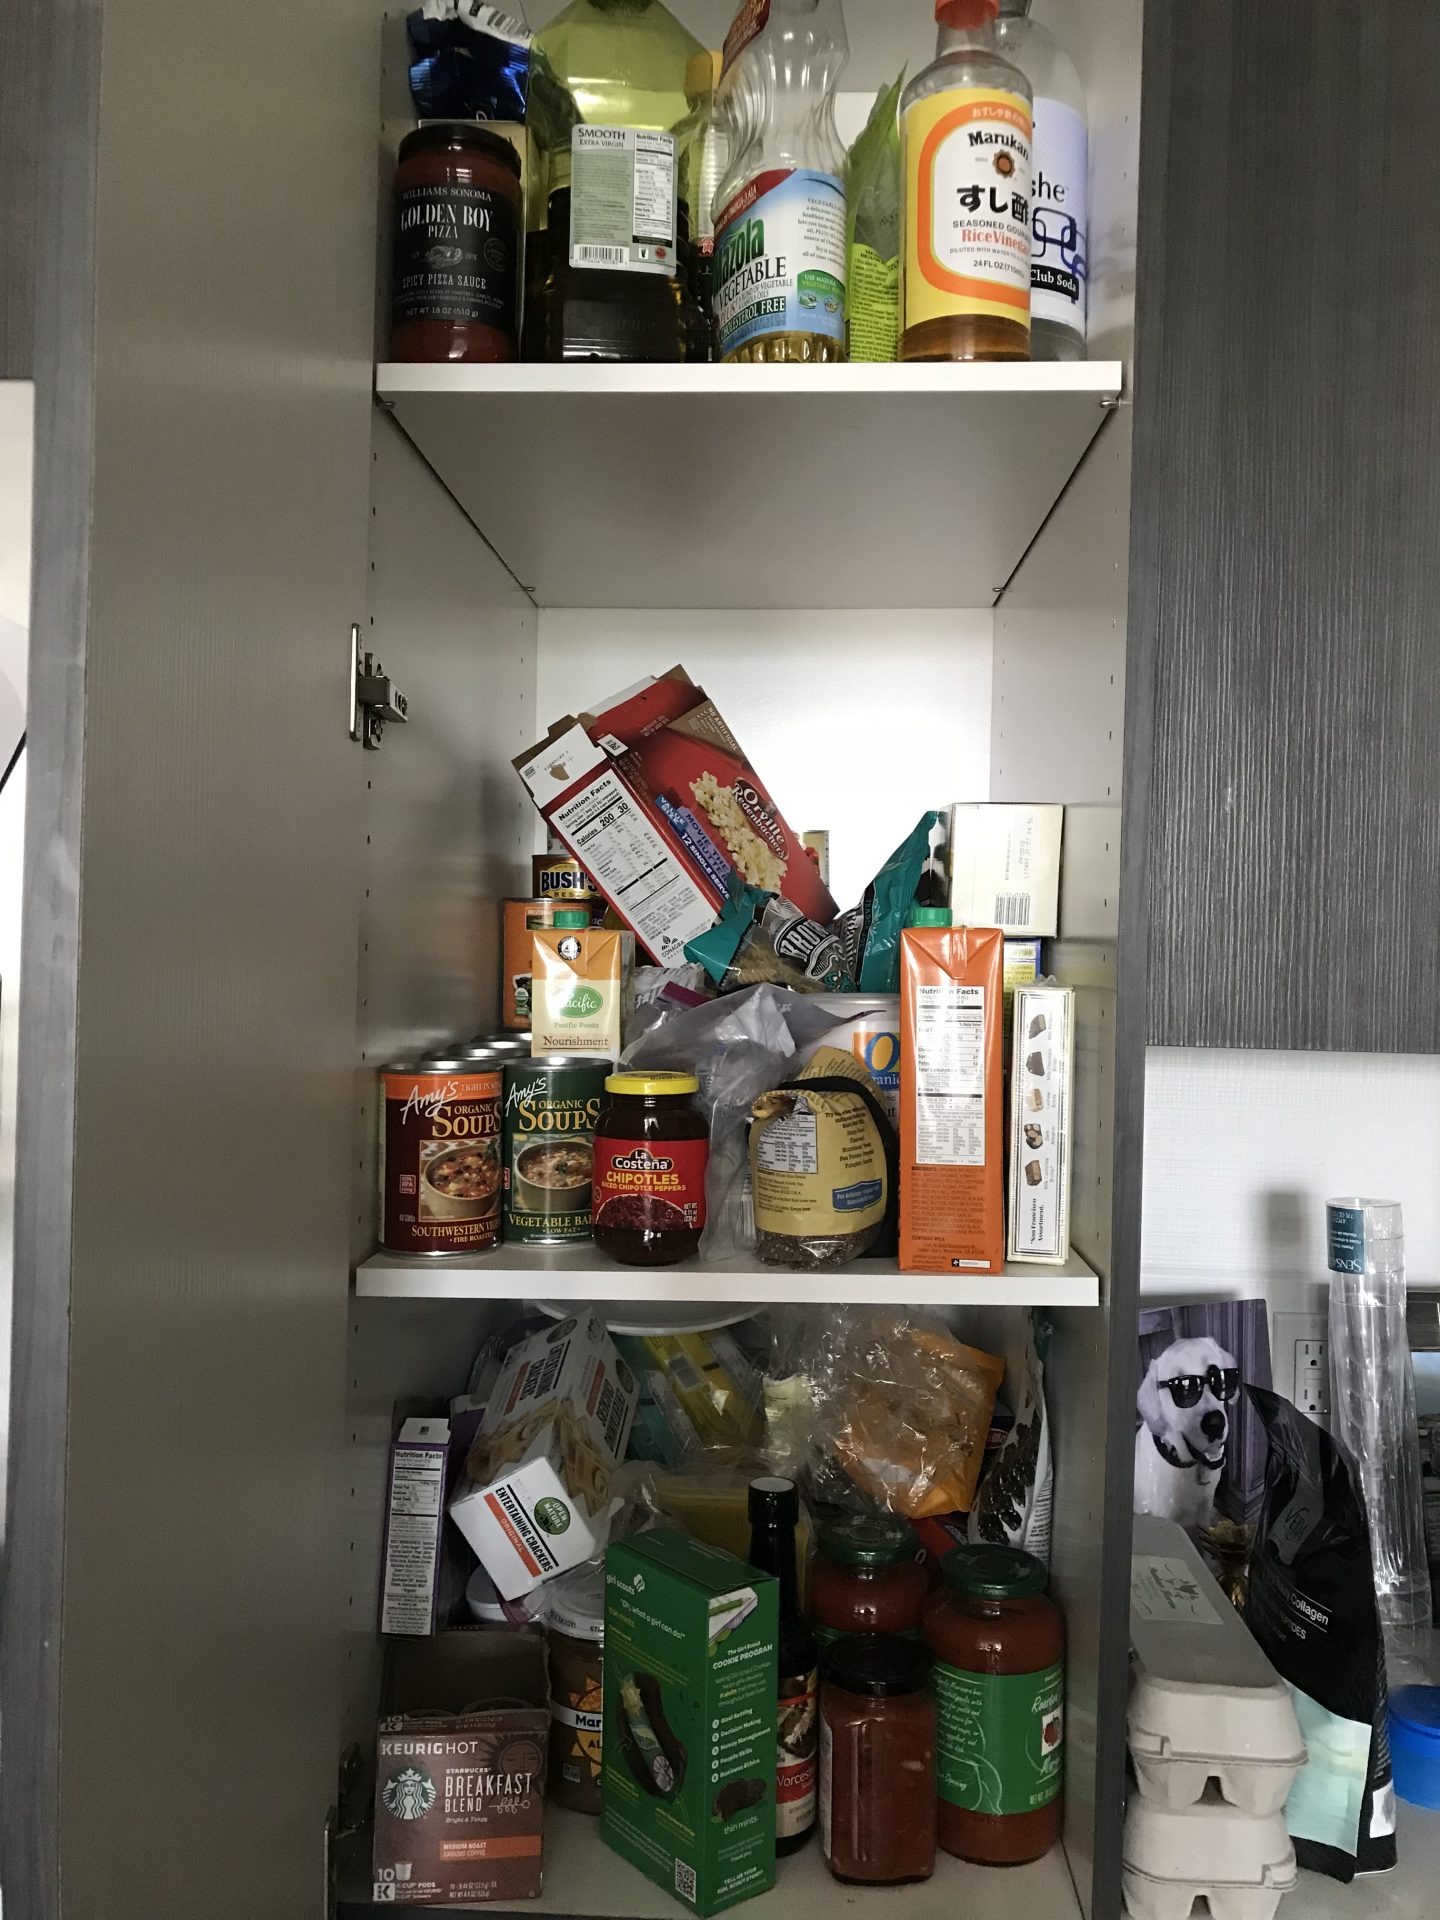
Step 1:Take EVERYTHING out of your cabinets and start to toss and organize. Once you decide what you want to keep stocked, create a note writing each item down and what size jar it will need. This makes the shopping portion a breeze.

CABINET #1 BEFORE: We hadn’t touched so much of this stuff, so it was a good purge sesh.

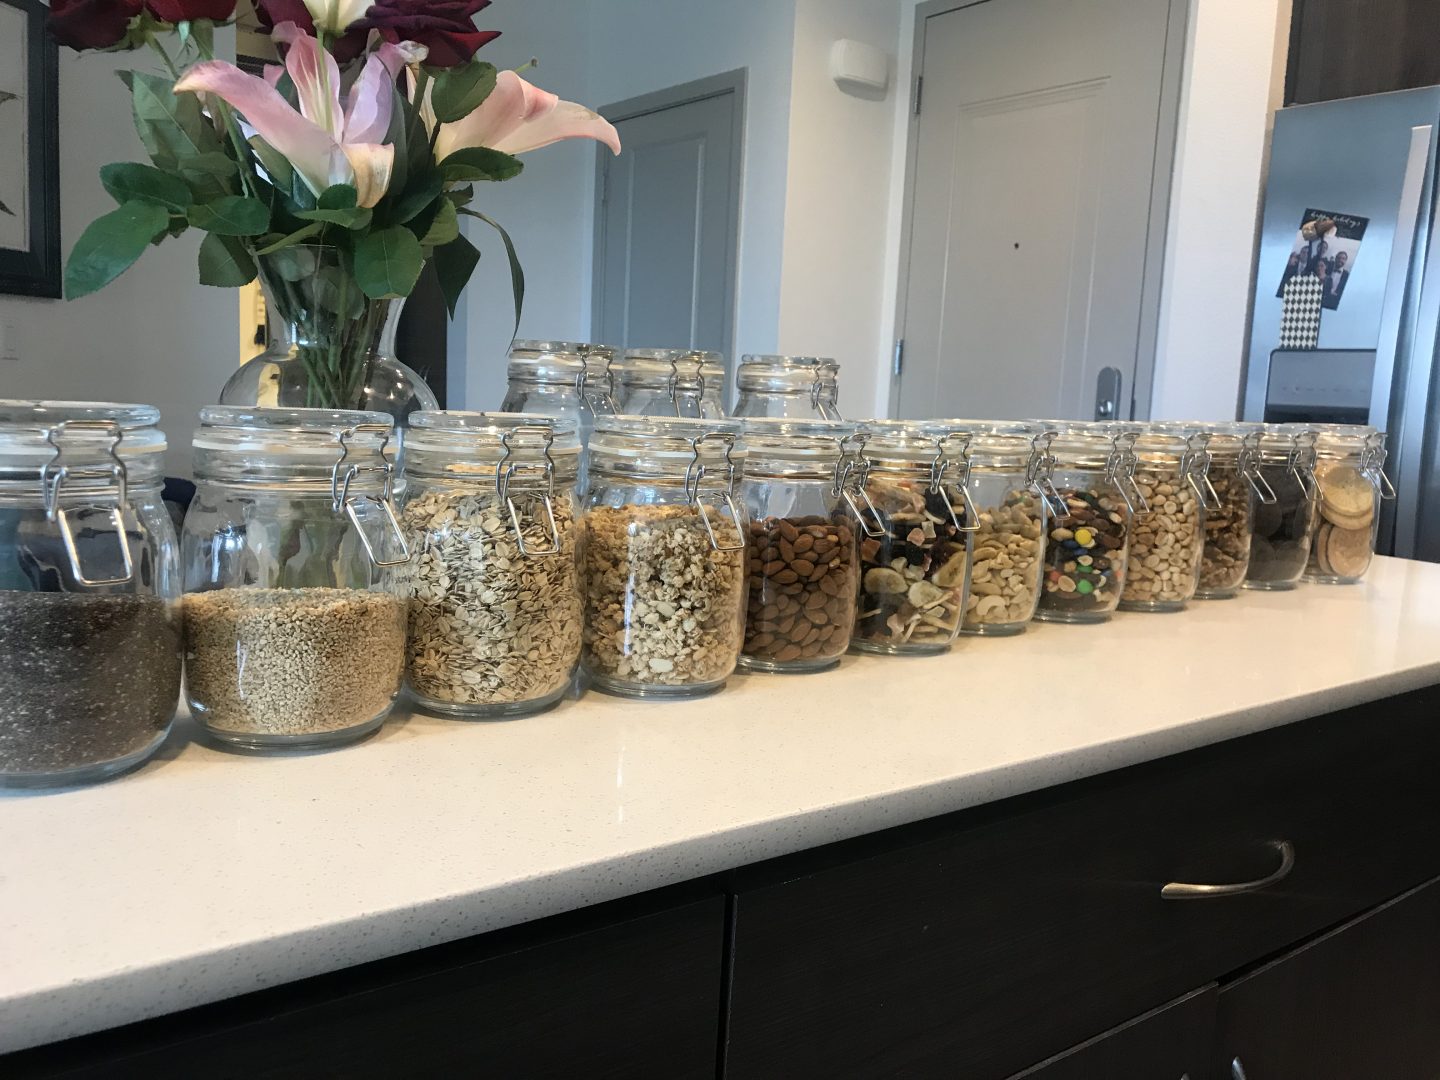
STEP 2: Clean and organize all the jars. 

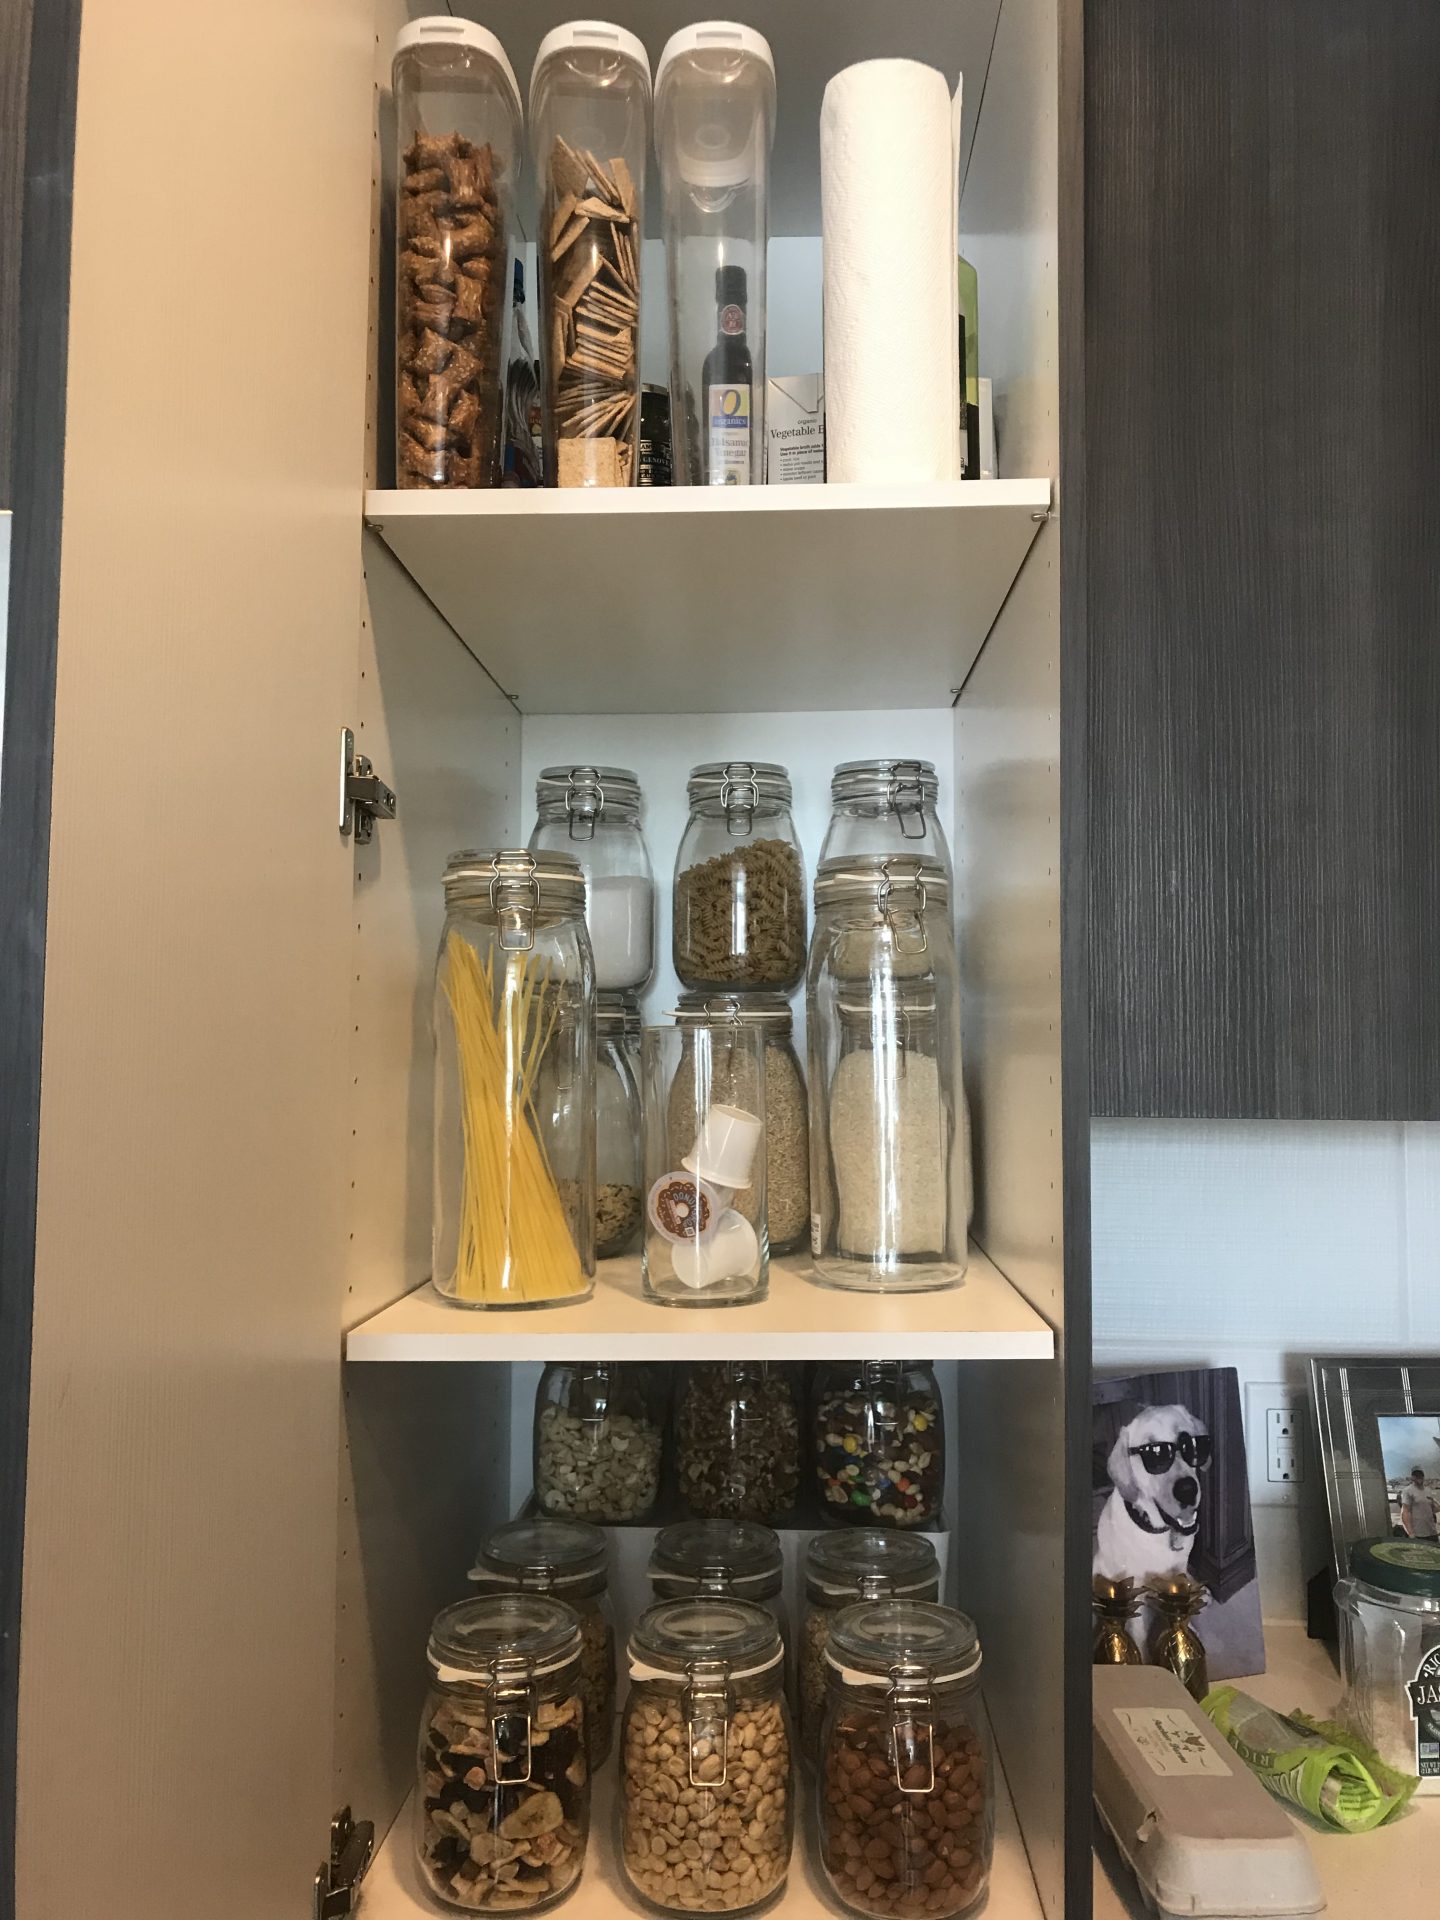
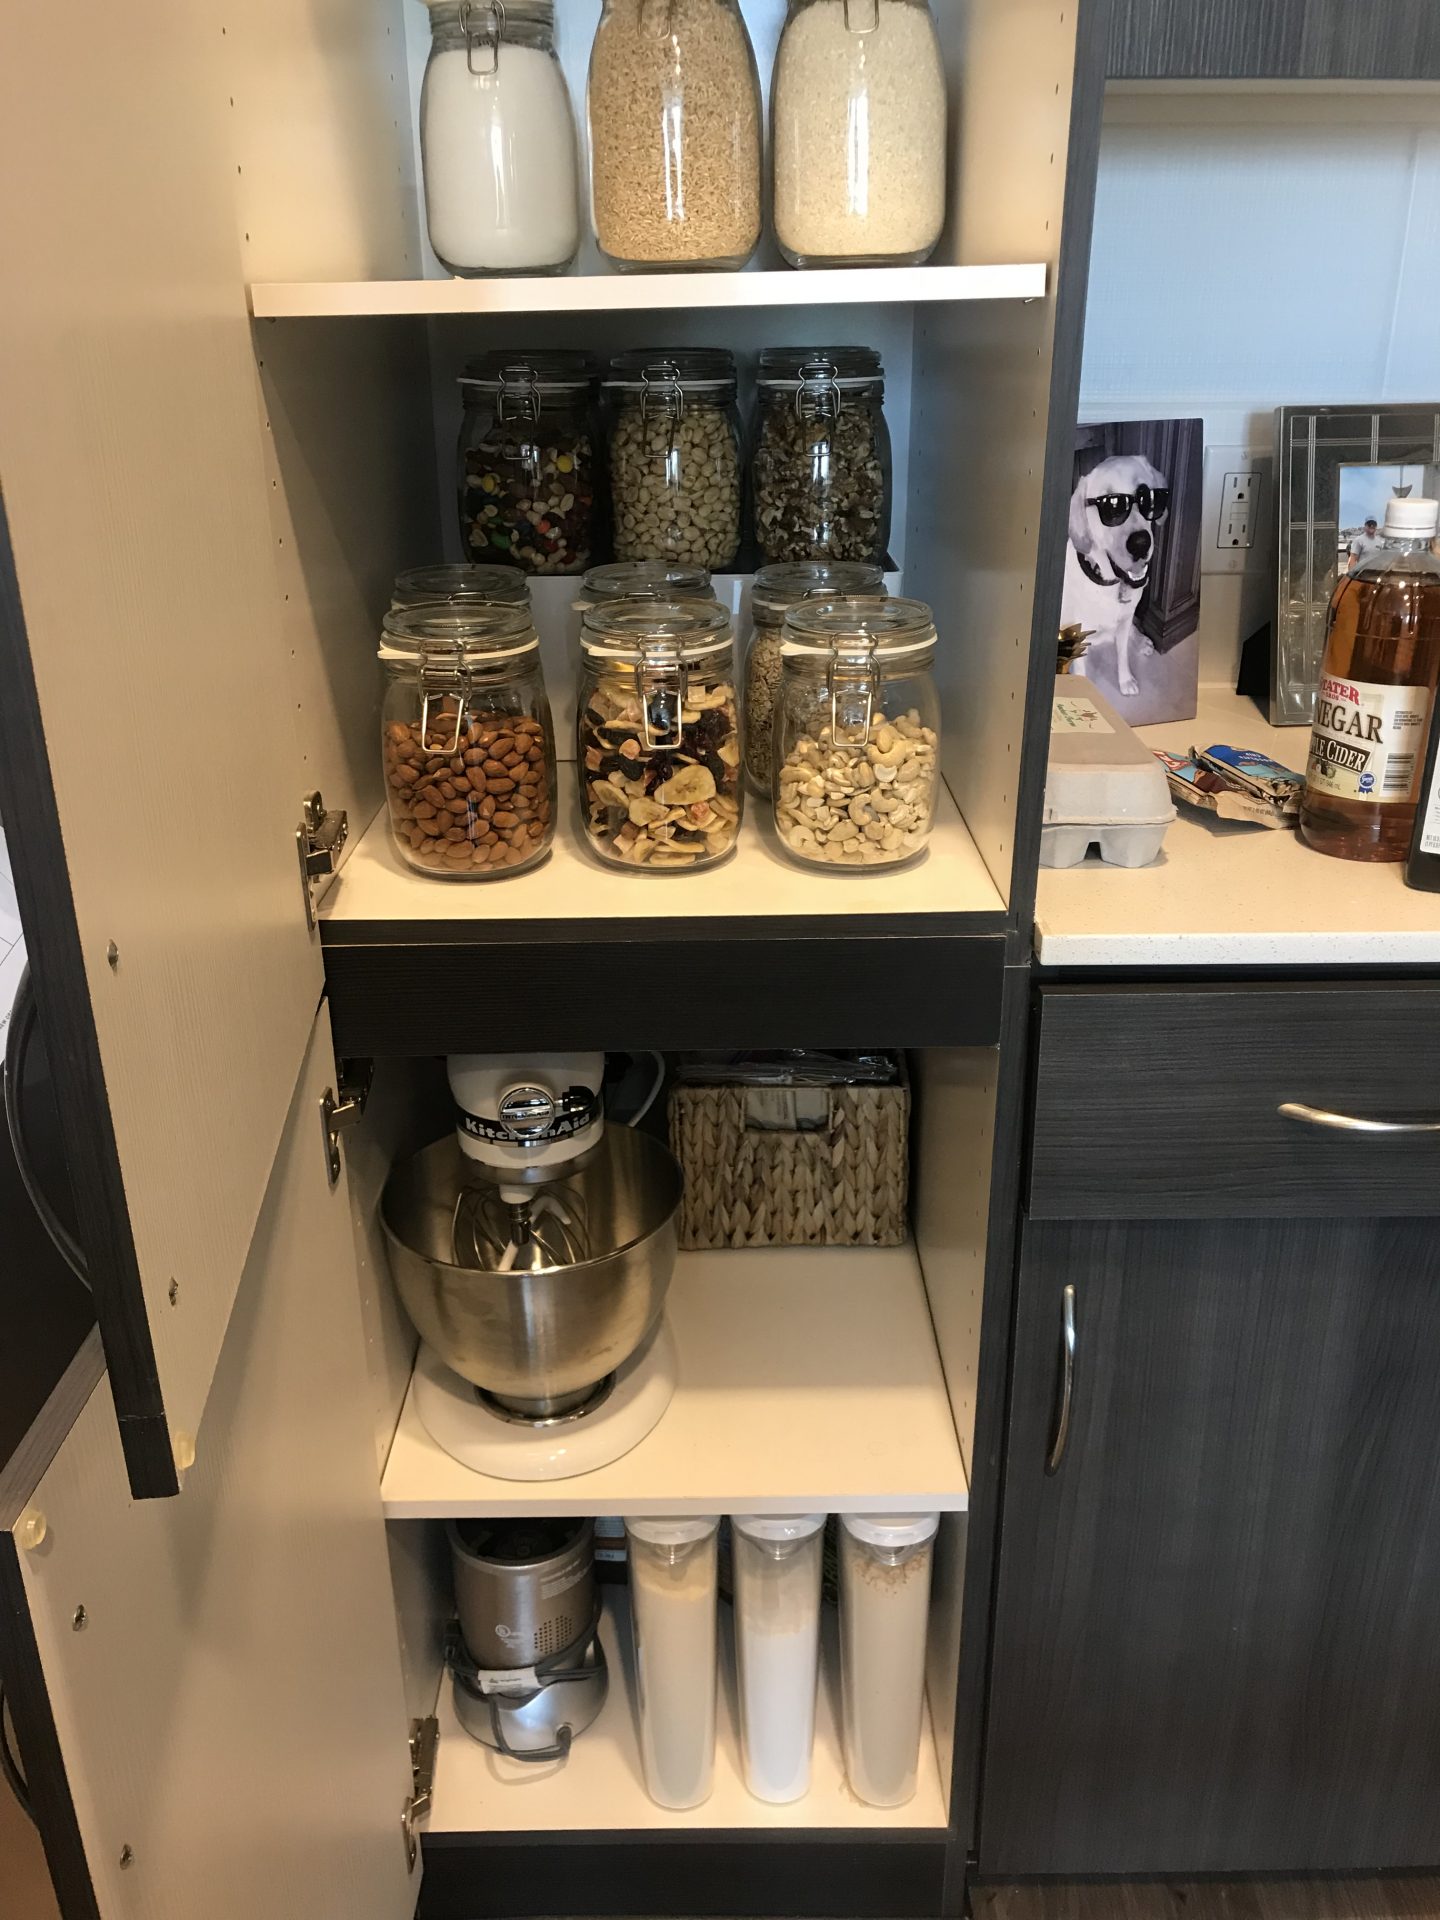
Our cabinets are long and narrow, which makes certain things not as easily accessible. I just positioned items based on how frequently we reach for them on the daily. 

  • Top shelf: I took the canned items and put them on the top back shelf. In front is “bad snacks” aka processed lol. Peanut butter pretzels, pita chips, wheat thins, etc. 
  • Middle shelf: All the larger storage items. pastas, rice (love my rice), sugar, flour, etc. 
  • Lower shelf: Nuts, dried fruit, oats, chia seeds, coconut shreds, etc.

Lower lower shelves.

  • The basket has popcorn and protein bars. 
  • Very bottom is Charlie’s protein powder, my protein powder and collagen peptides. Certain supplements like my spirulina I kept in original dark jar behind those. 


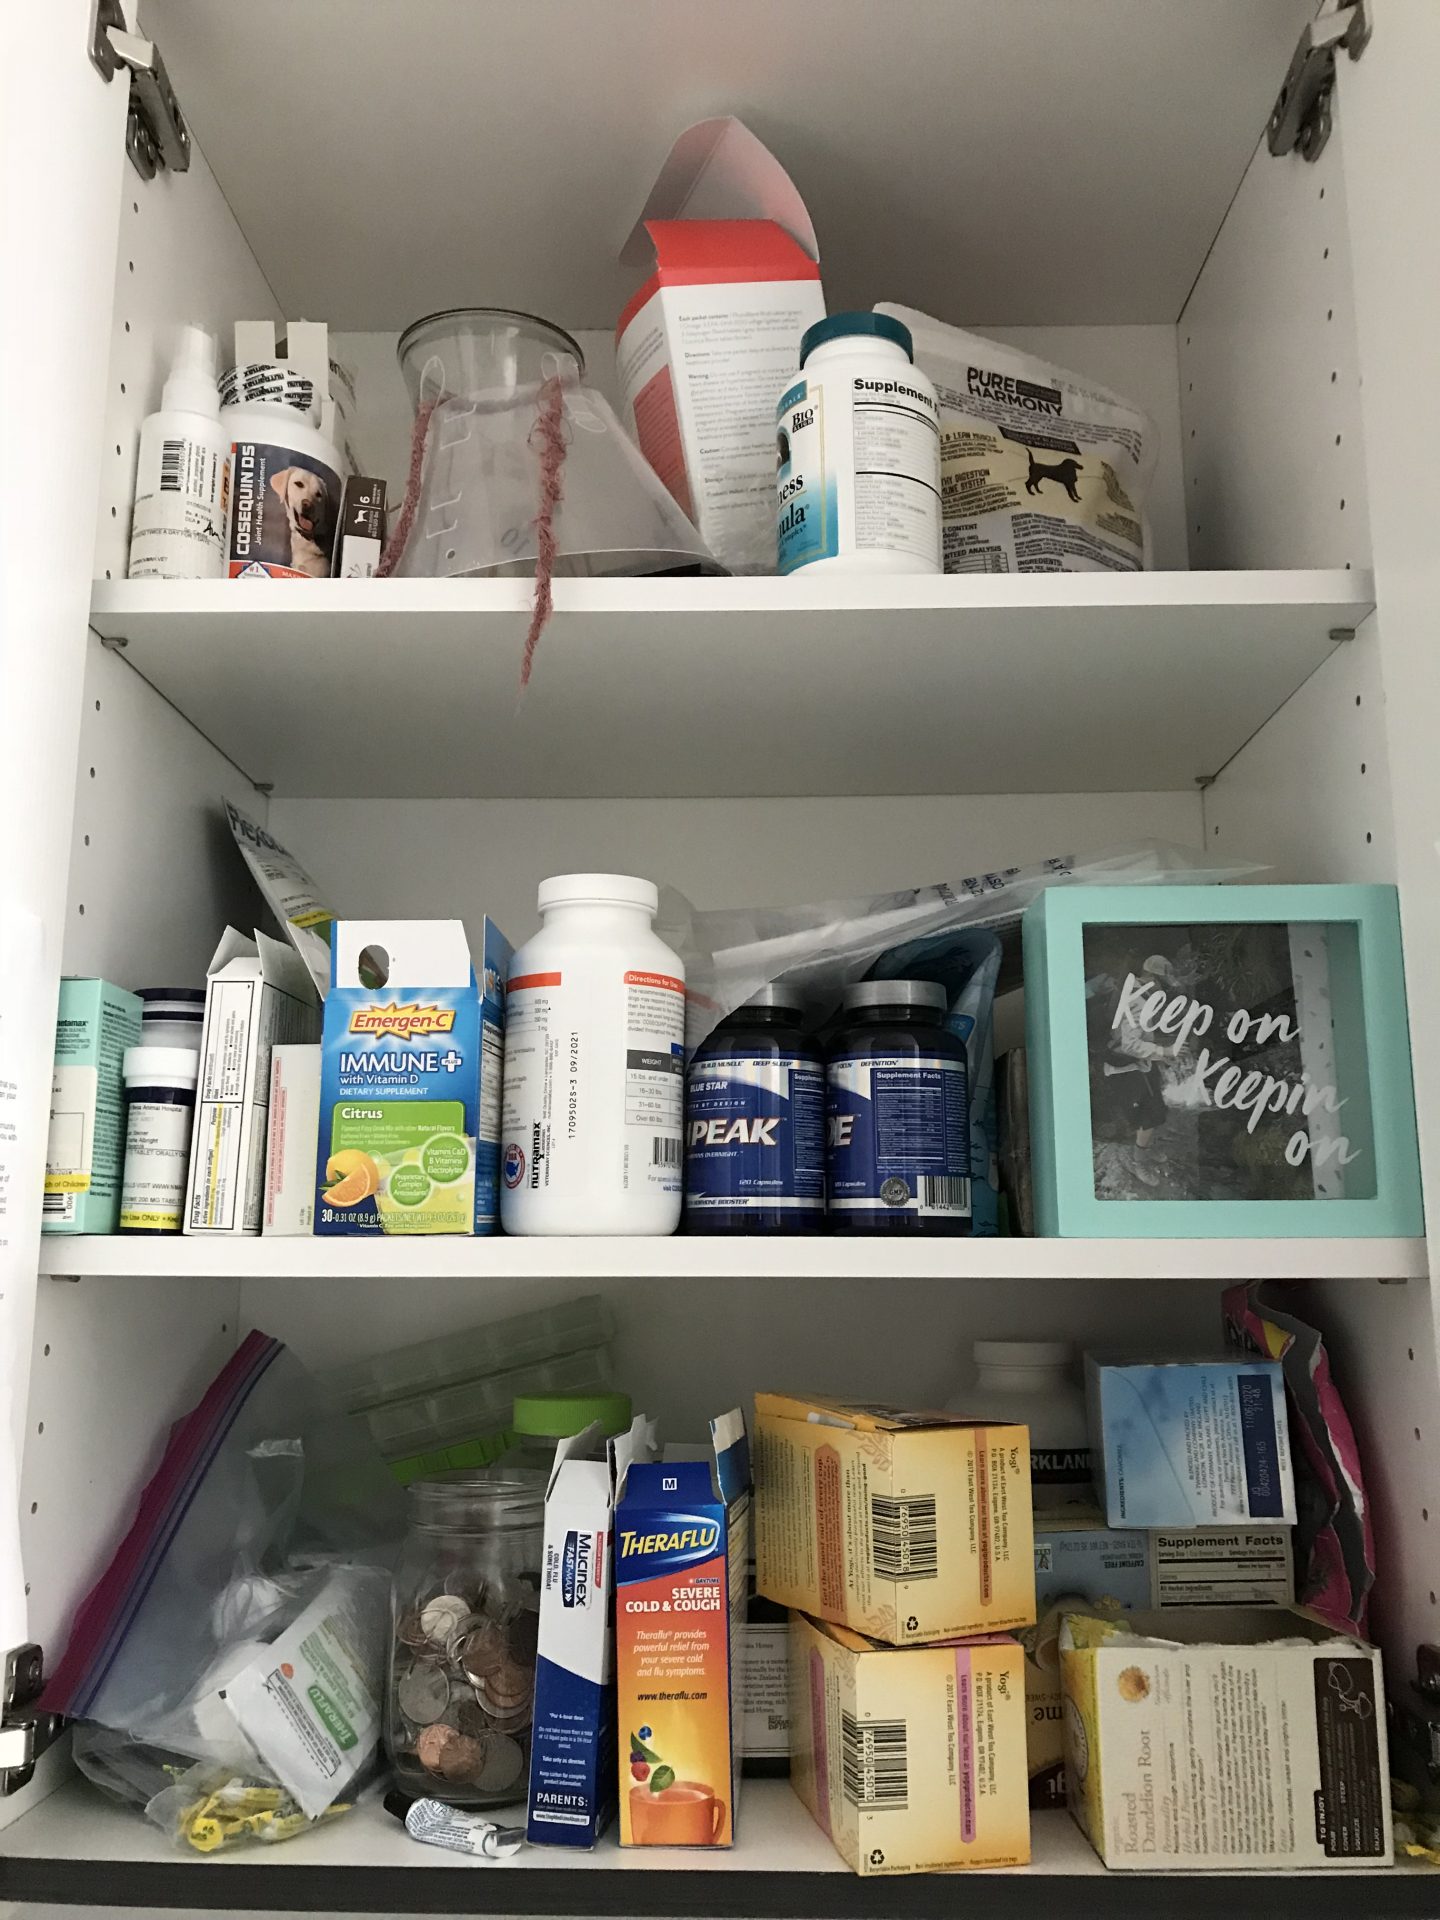
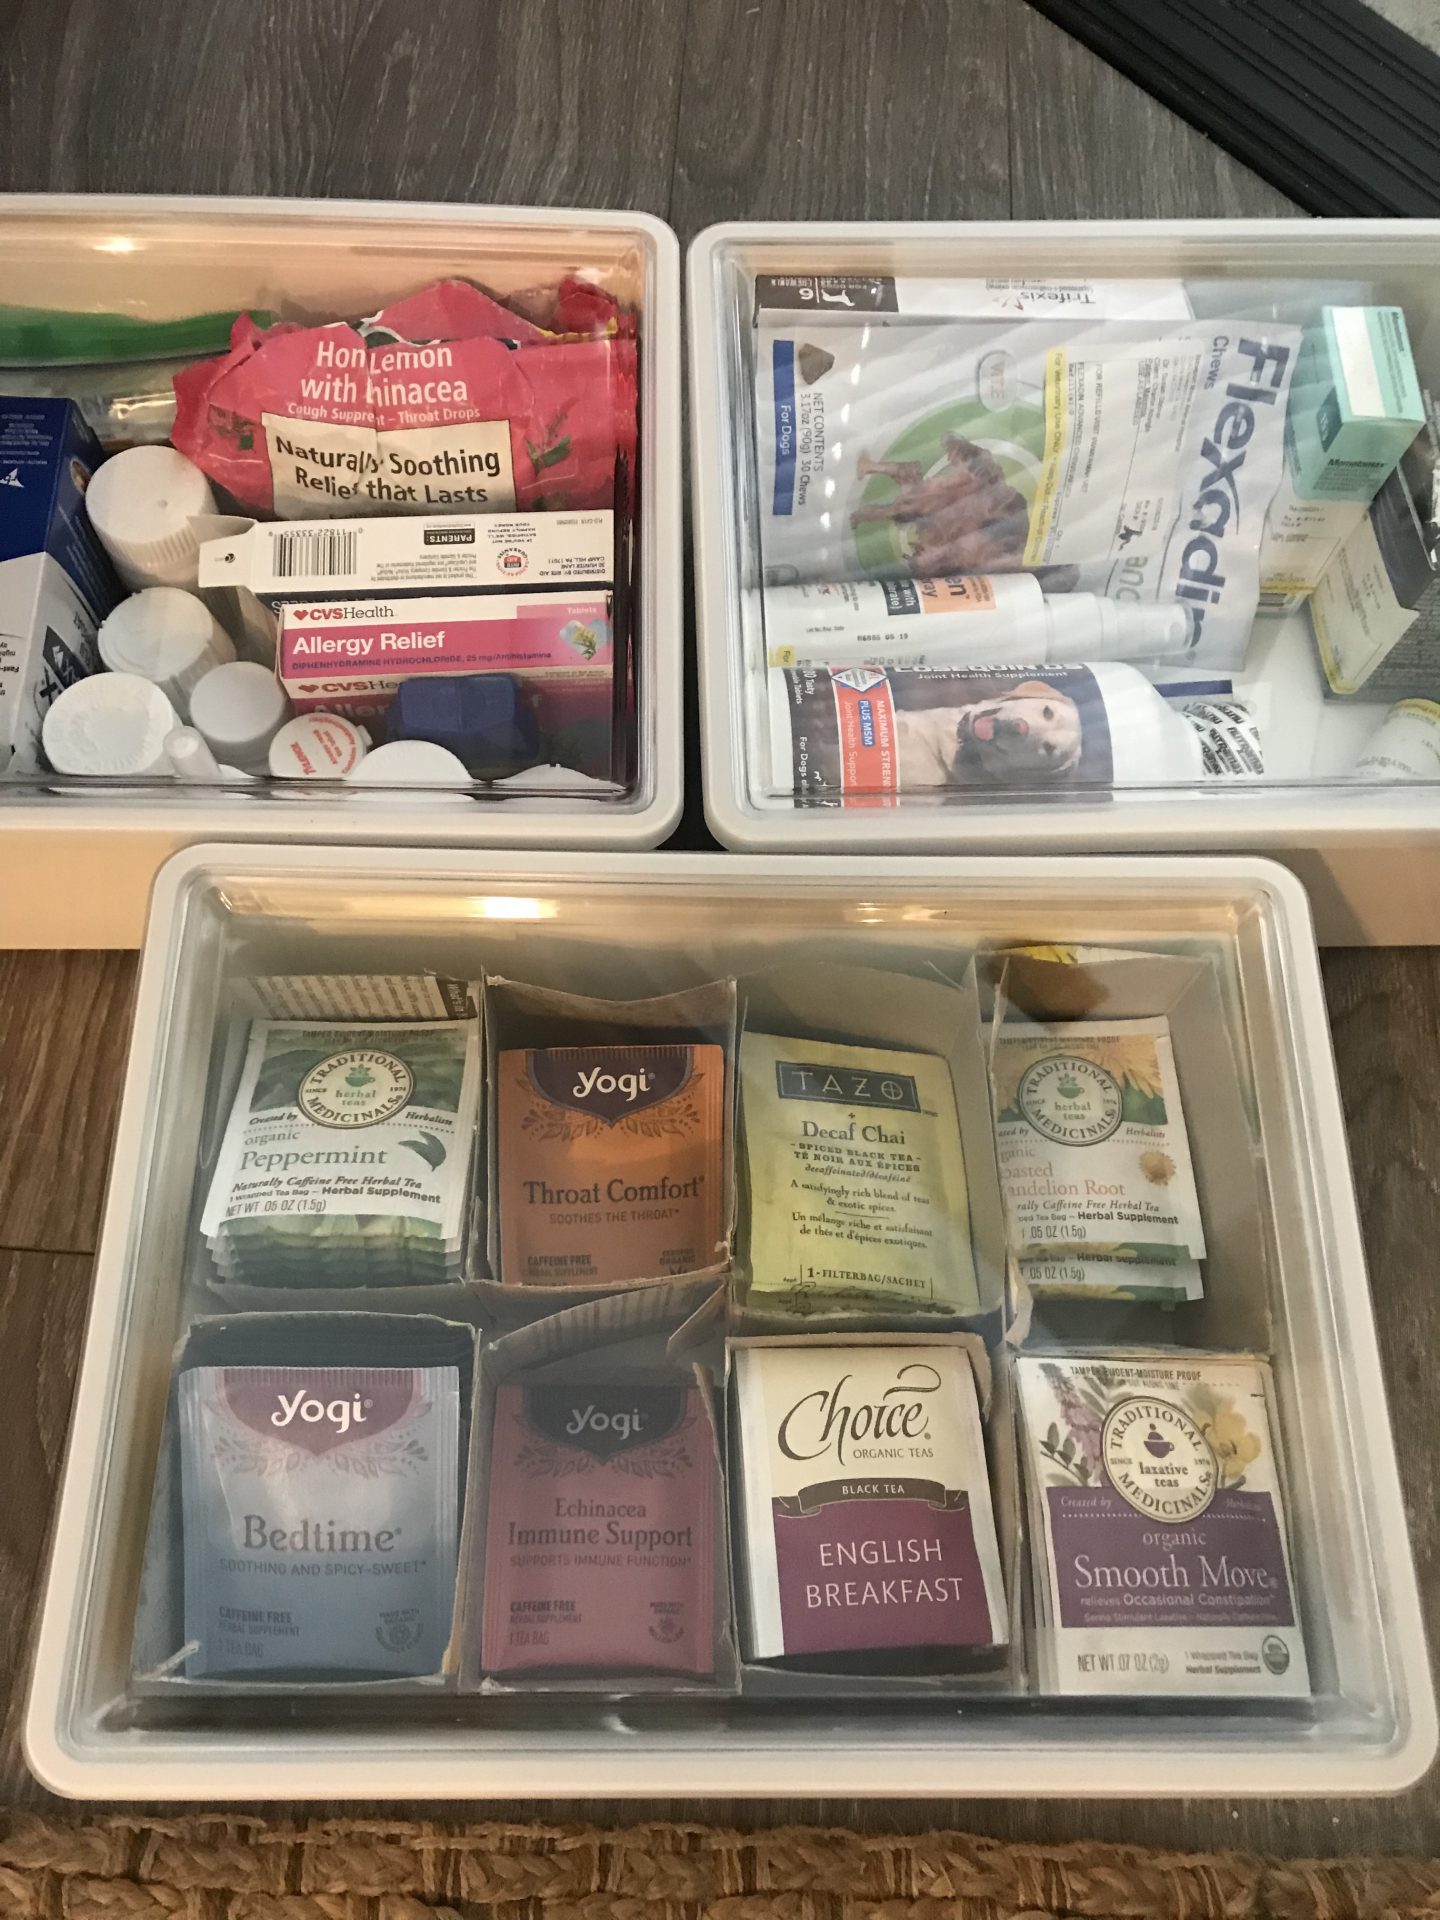
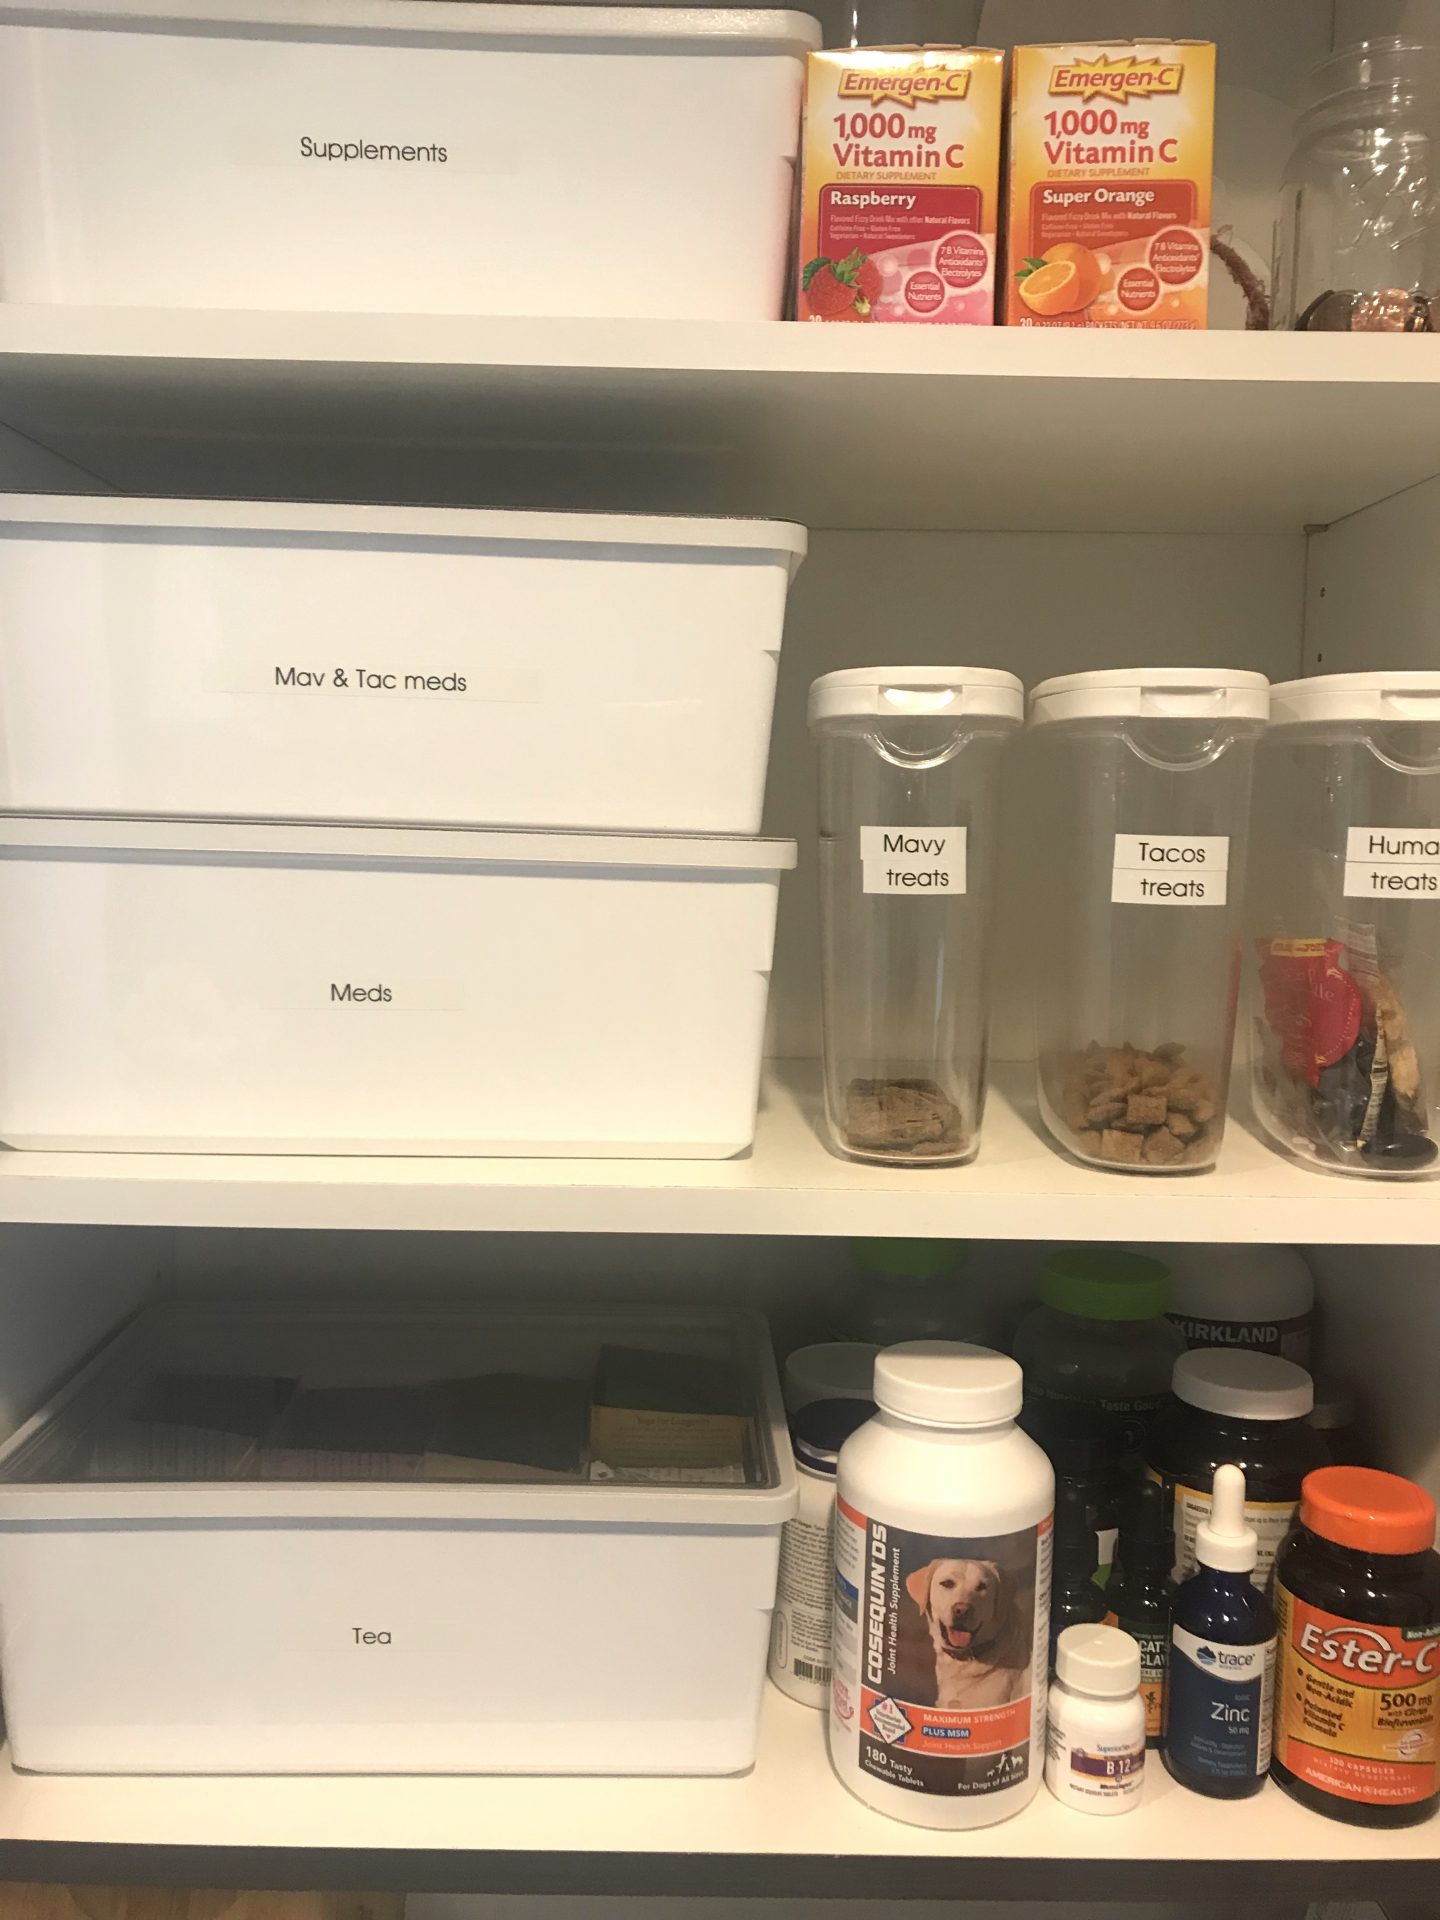
CABINET #2


This is my first post on the beauty topic and I’m so excited to get started! Let’s talk skincare 101.  Everyone wants their perfect personalized skincare regimen, but we live in a over-saturated world of beauty with new products constantly being introduced every single day. It can feel overwhelming trying to find your own skincare routine, but these simple steps are for EVERYONE no matter your skin type. 

CLEANSE:

Cleansing the skin is single handedly the easiest and most important thing you can do to achieve healthy skin. Some people don’t think they need to fully wash their face in the morning since all they did was sleep. MYTH. Your skin and your body are doing so much work while you sleep! You want to remove all that sweat, oil, and buildup as well as any product from the night before. You should cleanse your skin twice a day, the second time being at night. However, if you’re working out you want to wash your face before and after (don’t workout with makeup on!). In this case, when you’re cleansing more than two times a day, you want to be sure you’re using a really gentle cleanser. Over cleansing can strip your skin and lead to dehydration, dryness, acne and more. 

A quick double cleanse at night is best. One pump of cleanser to wash off the day. Rinse. Second pump to actually clean your skin and pores. Right now I’m loving the Deep Renewing Cleanser  A Little Touch of Heaven. 

TONE:  

There are many topics of discussion on toners regarding their purpose and importance. The primary function of a toner is to restore the pH balance of the skin. Most cleansers have alkaline (base) properties for softening the skin to thoroughly cleanse pores. However, healthy skin is naturally acidic. A toner brings your skin back down to the healthy acidic level to prep it for skincare products.

EXFOLIATE:

This is often times a step that goes overlooked and undervalued in many skincare routines.

What is exfoliation? It’s the removal of dead skin cells sitting on the surface of the skin. There are a number of ways you can exfoliate including physcial scrubs, AHA/BHA chemicals, and enzymes. I want to do a separate post dedicated to this topic alone to break down each type of exfoliation, but incorporating one of these forms into your regime is vital whether you’re dry or oily.

Why is exfoliation so important? Each month your skin goes through a cell regeneration process. However, as we age our bodies slow down the natural shedding process. When skin cells start to pile up, it can leave the skin looking dry and lackluster as well as clog up and impact pores creating acne.  

Most exfoliators should be limited to once per week. However, gentler enzyme exfoliants naturally derived from fruits can most often be used multiple times per week depending on their strengths. Regular exfoliation is helpful in resurfacing, smoothing skin texture, improving skin tone and enhancing skin’s receptiveness to skincare products. 

SERUM:

Serums pack a punch and are so important because they contain high concentration of active ingredients. They are made up of small molecules, allowing them to penetrate and absorb into the skin much deeper than other skincare products. There are so many to choose from, but the most effective are a Vitamin A and a Vitamin C.  Serums are meant to treat specific needs such as anti-aging, acne, and sensitive skin types. 

HYDRATE + PROTECT:

The words hydrate and moisturize can be traumatizing to an oily person, but it’s so important for every skin type. That’s not to say that everyone should use the same ingredients, but you should definitely be using something suitable for your own skin. When oily skin types are over stripped and under hydrated, the skin produces even more oil to protect itself hence creating a vicious cycle of depleting and over producing oils. Finding the right moisturizer completes the regimen to balance and create healthy skin. 

For your day time regime, the final step would be SPF! You want to protect your skin from the sun to treat acne scars and prevent further damage leading to hyper-pigmentation, wrinkles and loss of collagen. 

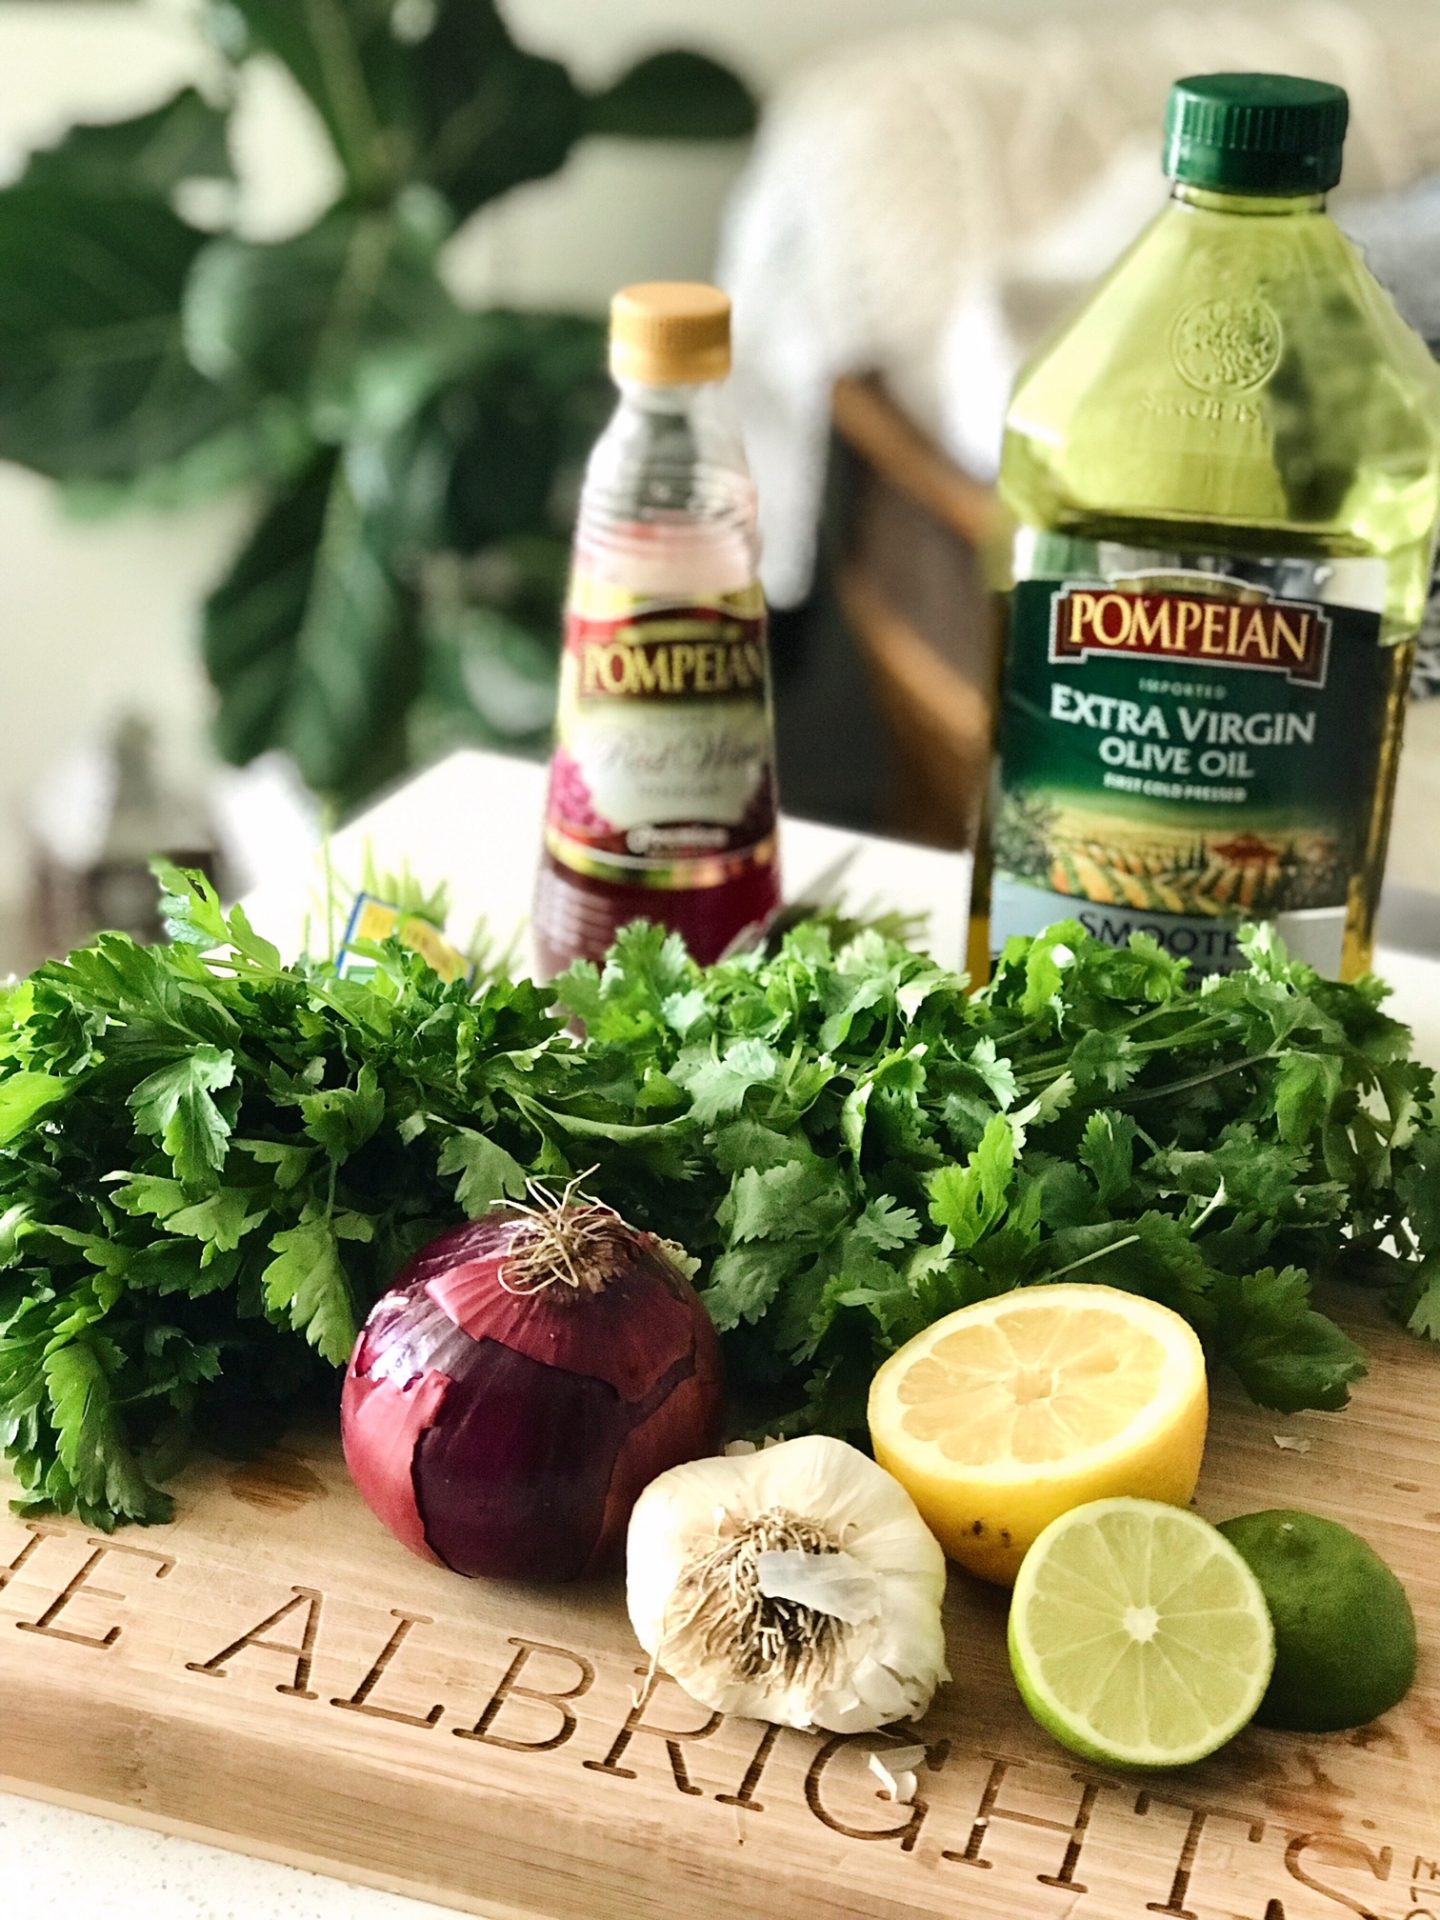
Let’s just be real… I live for sauces and anything with cilantro + lime has my name all over it. I found this recipe online and it’s SO simple yet packed with flavor. Definitely recommend trying this, good luck! 🙂

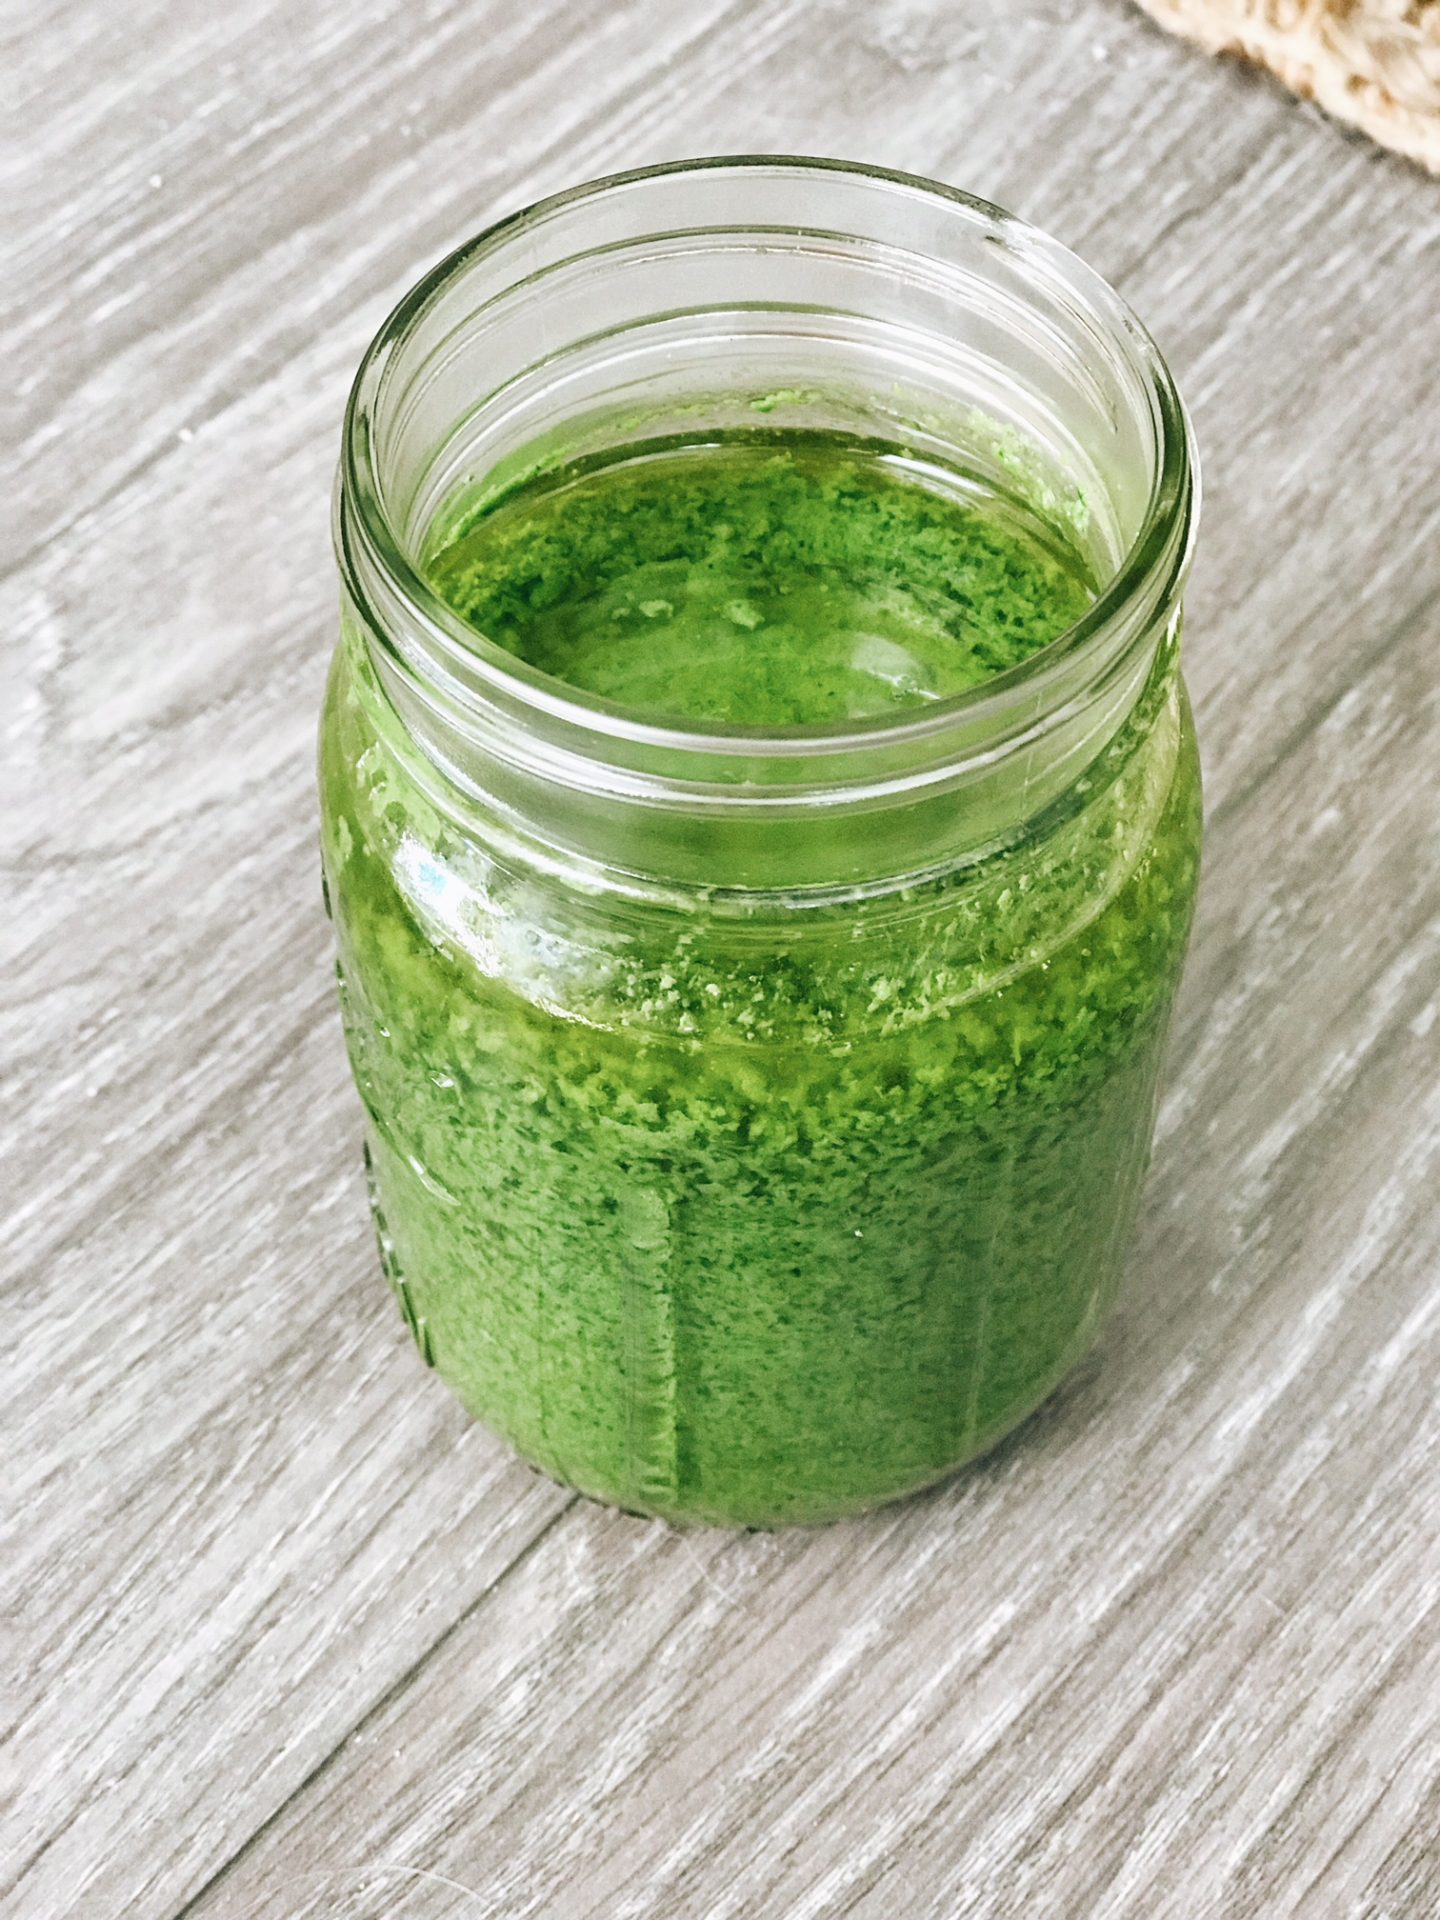
CHIMICHURRI SAUCE

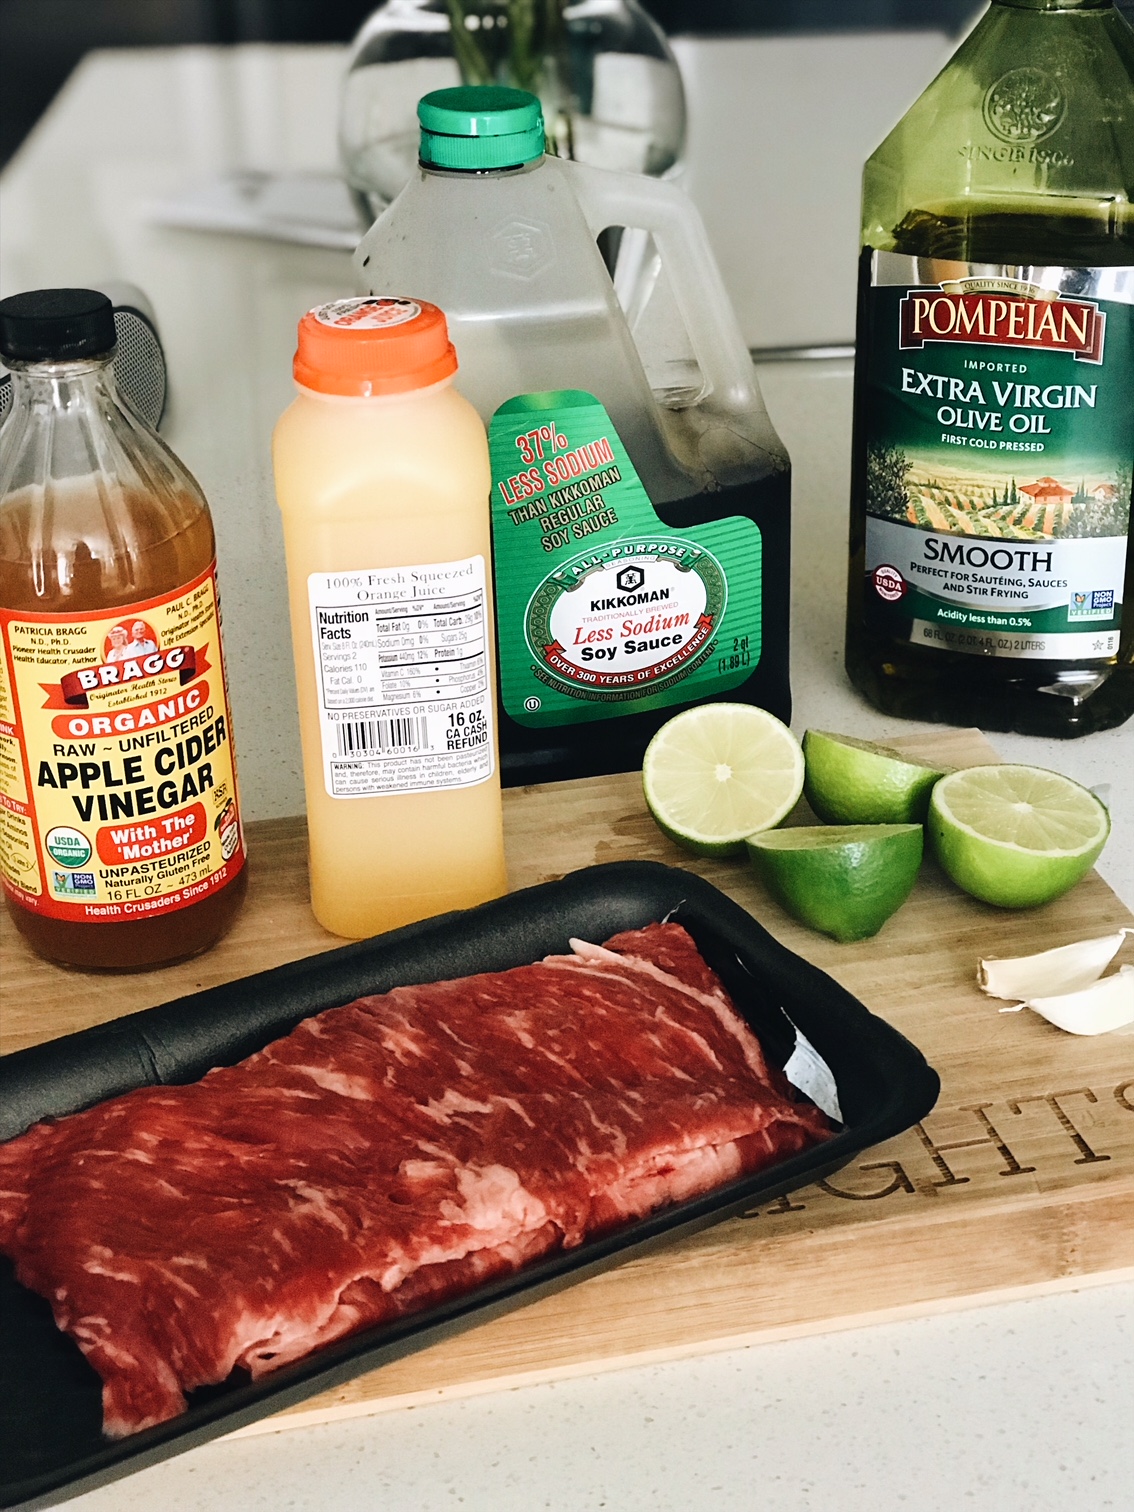
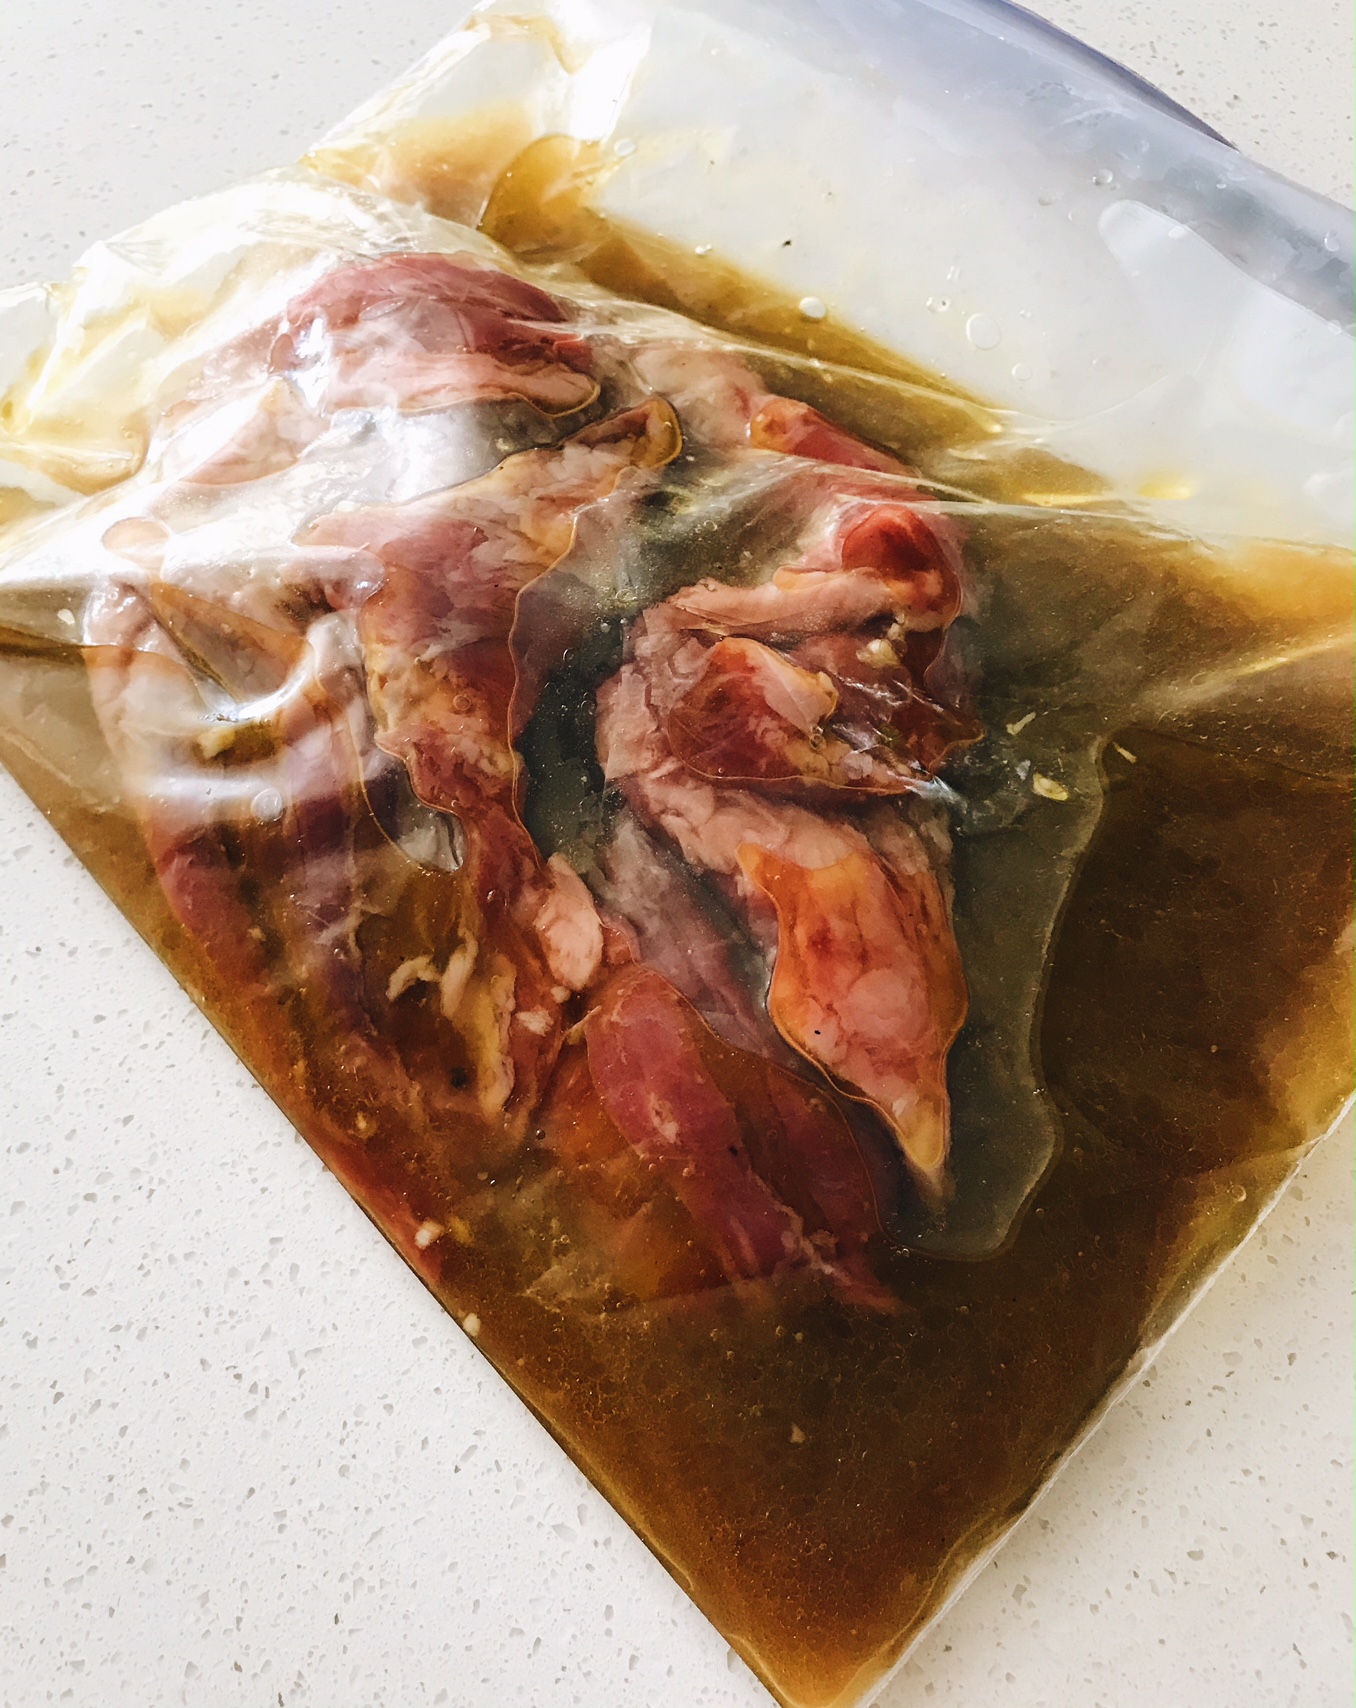
STEAK MARINADE 

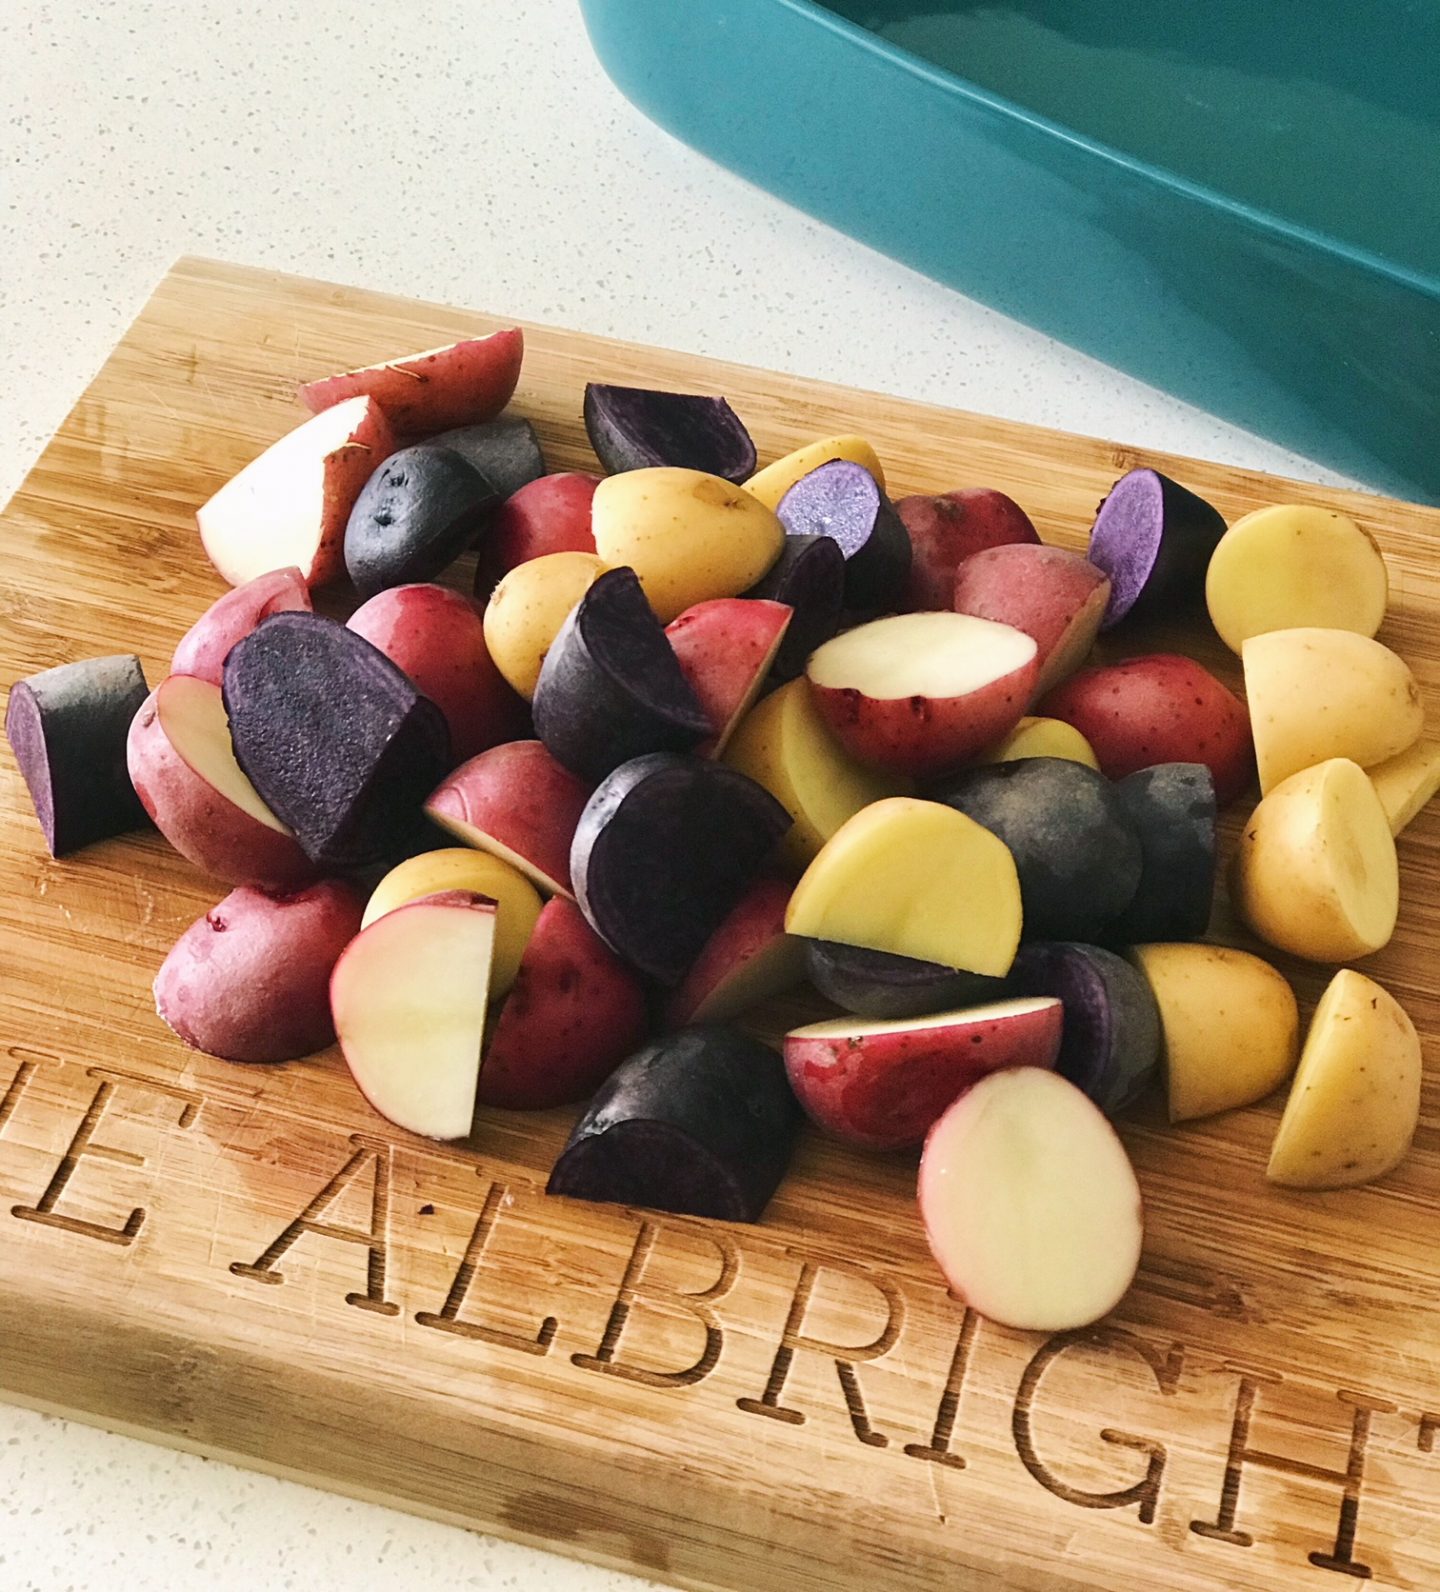
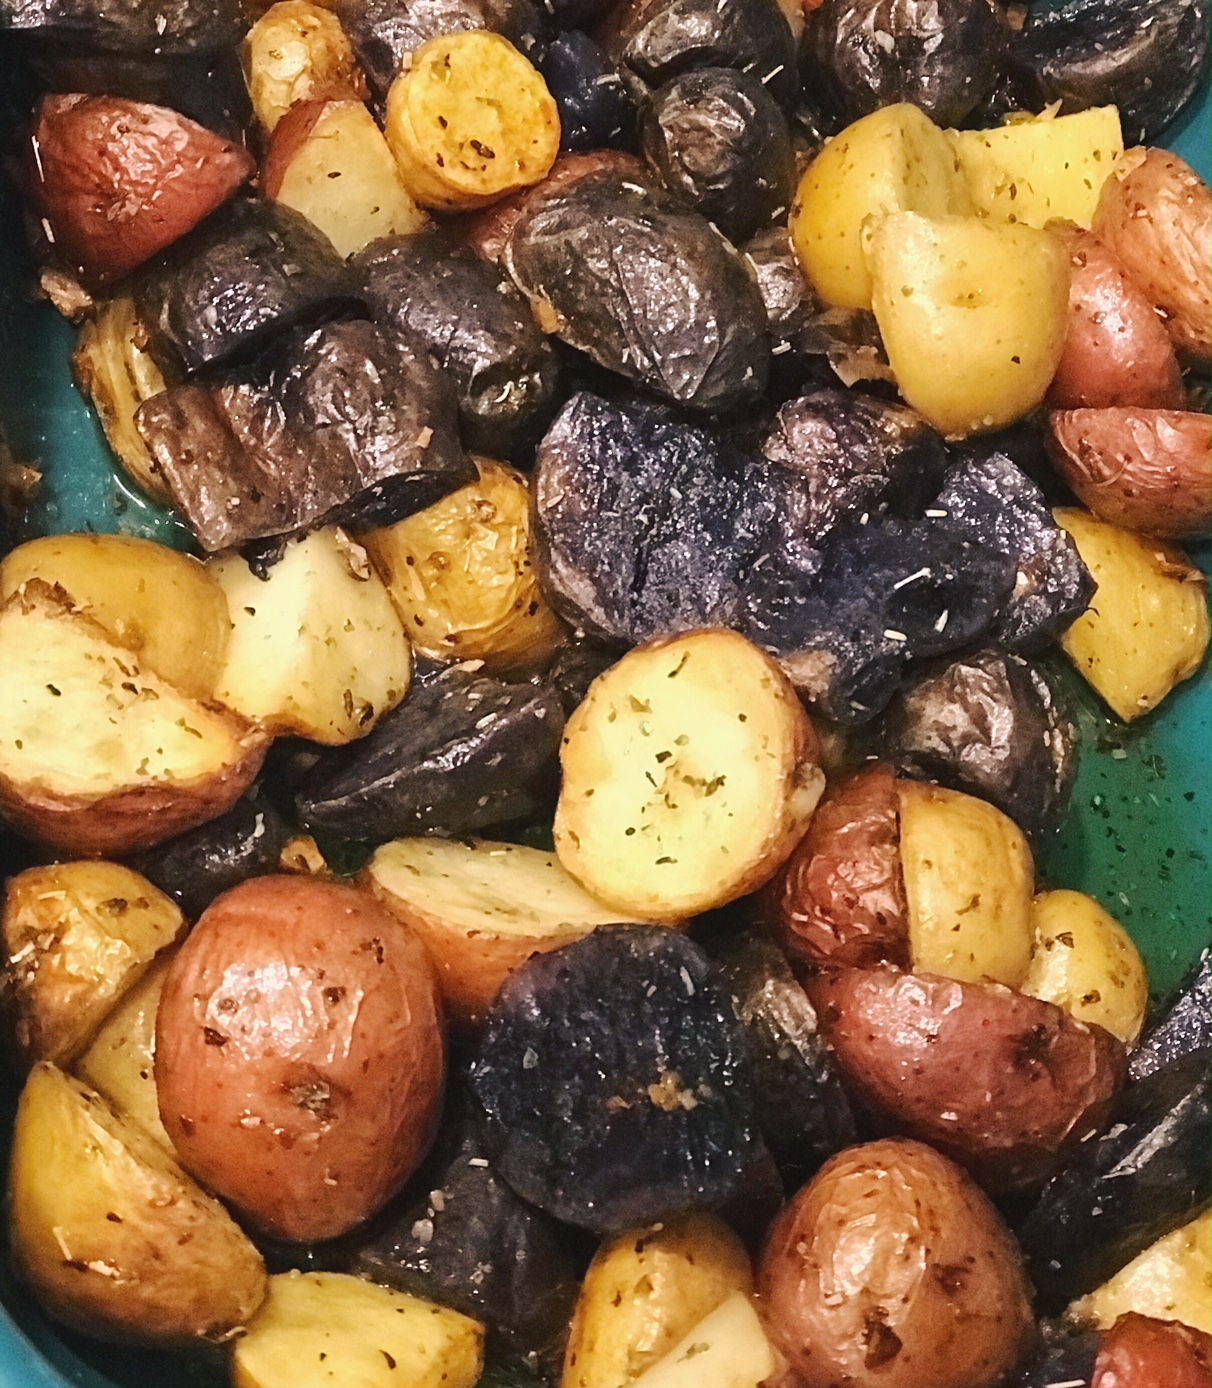
ROASTED BABY POTATOES

Ingredients:
 
For the Chimichurri Sauce:
  • 1 bunch fresh parsley
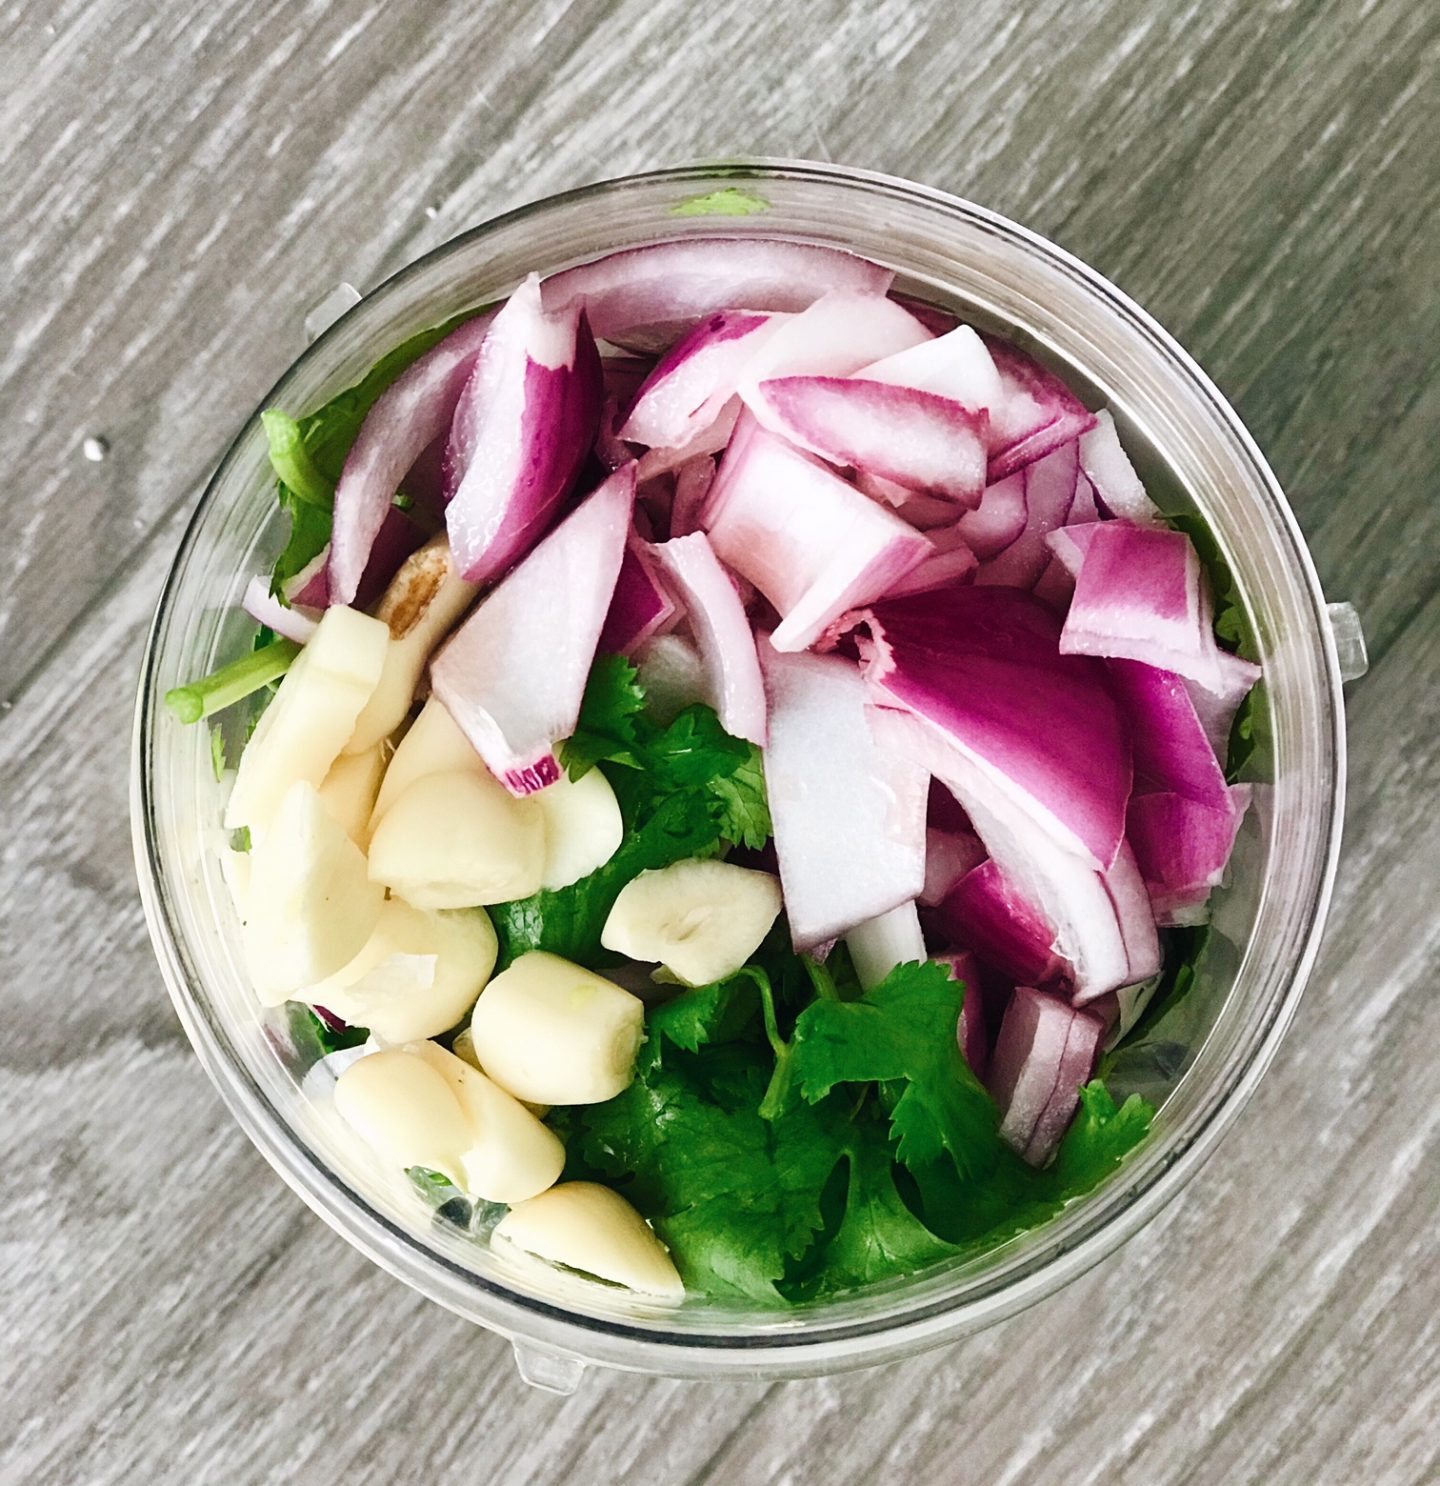
  • 1 bunch fresh cilantro
  • 1/3 cup olive oil
  • ½ medium onion, diced
  • 3 garlic cloves
  • 3 tablespoons fresh lime juice or lemon juice
  • 2 tablespoons red wine vinegar
  • ½ teaspoon salt
  • ½ teaspoon pepper
  • Optional: ¼ teaspoon red pepper flakes
For the Marinade and Grilling:
  • ⅔ cup olive oil
  • ½ cup fresh orange juice
  • ⅓ cup fresh lime juice
  • ¼ cup soy sauce
  • ¼ cup Worcestershire sauce
  • 3 tablespoons apple cider or red wine vinegar
  • 4 garlic cloves, minced
  • 1 pound Skirt Steak or Flank Steak

For the Baby Potatoes:

  • 1 bag or organic baby potatoes
  • 2 garlic cloves
  • 1/4 cup olive oil
  • Italian blend- dried herbs
  • (Optional) 1/3 cup shredded parmesan

Instructions:

 
For the Chimichurri:
  1. Add all of the ingredients to a heavy duty blender or food processor and blend until everything is chopped up and smooth then serve. Seriously that easy.

For the Marinade and Grilling:

  1. Whisk all of the ingredients together and pour into a large ziploc bag.
  2. Add skirt steak to ziploc bag with marinade and allow to marinate 4 hours or overnight.
  3. Grill until golden brown and perfectly charred then allow to rest before slicing on a cutting board.

For the Baby Potatoes

  1. Preheat oven to 400F
  2. Wash and cut potatoes in half
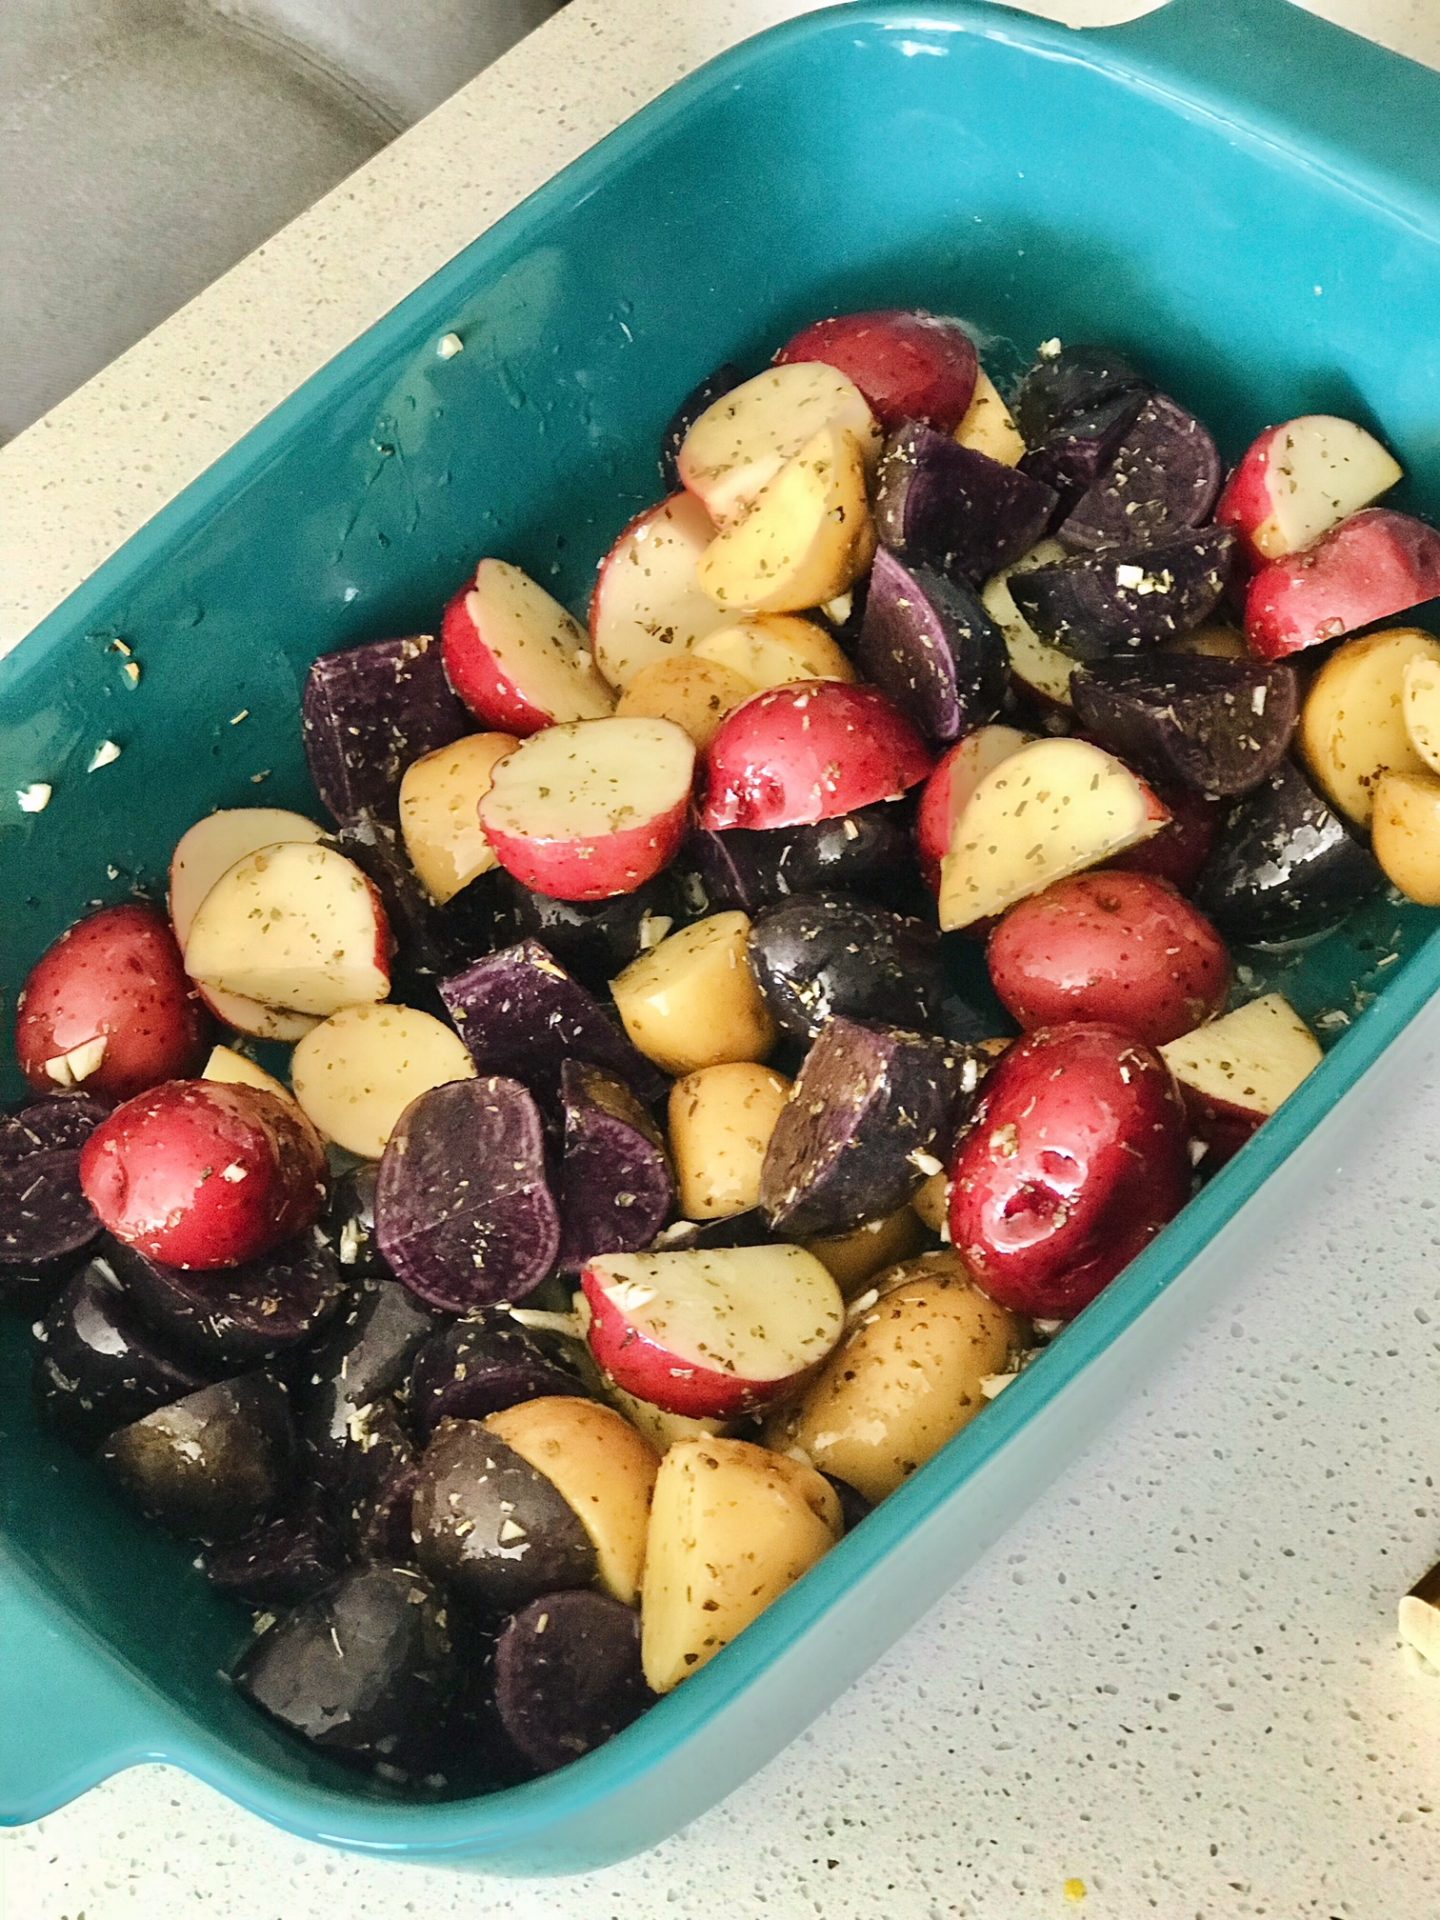
  3. Mix oil, herbs, garlic and parmesan together and liberally coat potatoes
  4. Spread potatoes in a single layer across a baking sheet for crispier potatoes or put in baking dish and cook for 20 minutes.


This year I turned 29 and had little urge to have some big celebration. March is tradeshow season for Charlie, so I at least knew I wanted something intimate with my girlfriends. We had a mellow sunday funday that turned out to be one of my favorite birthdays yet!

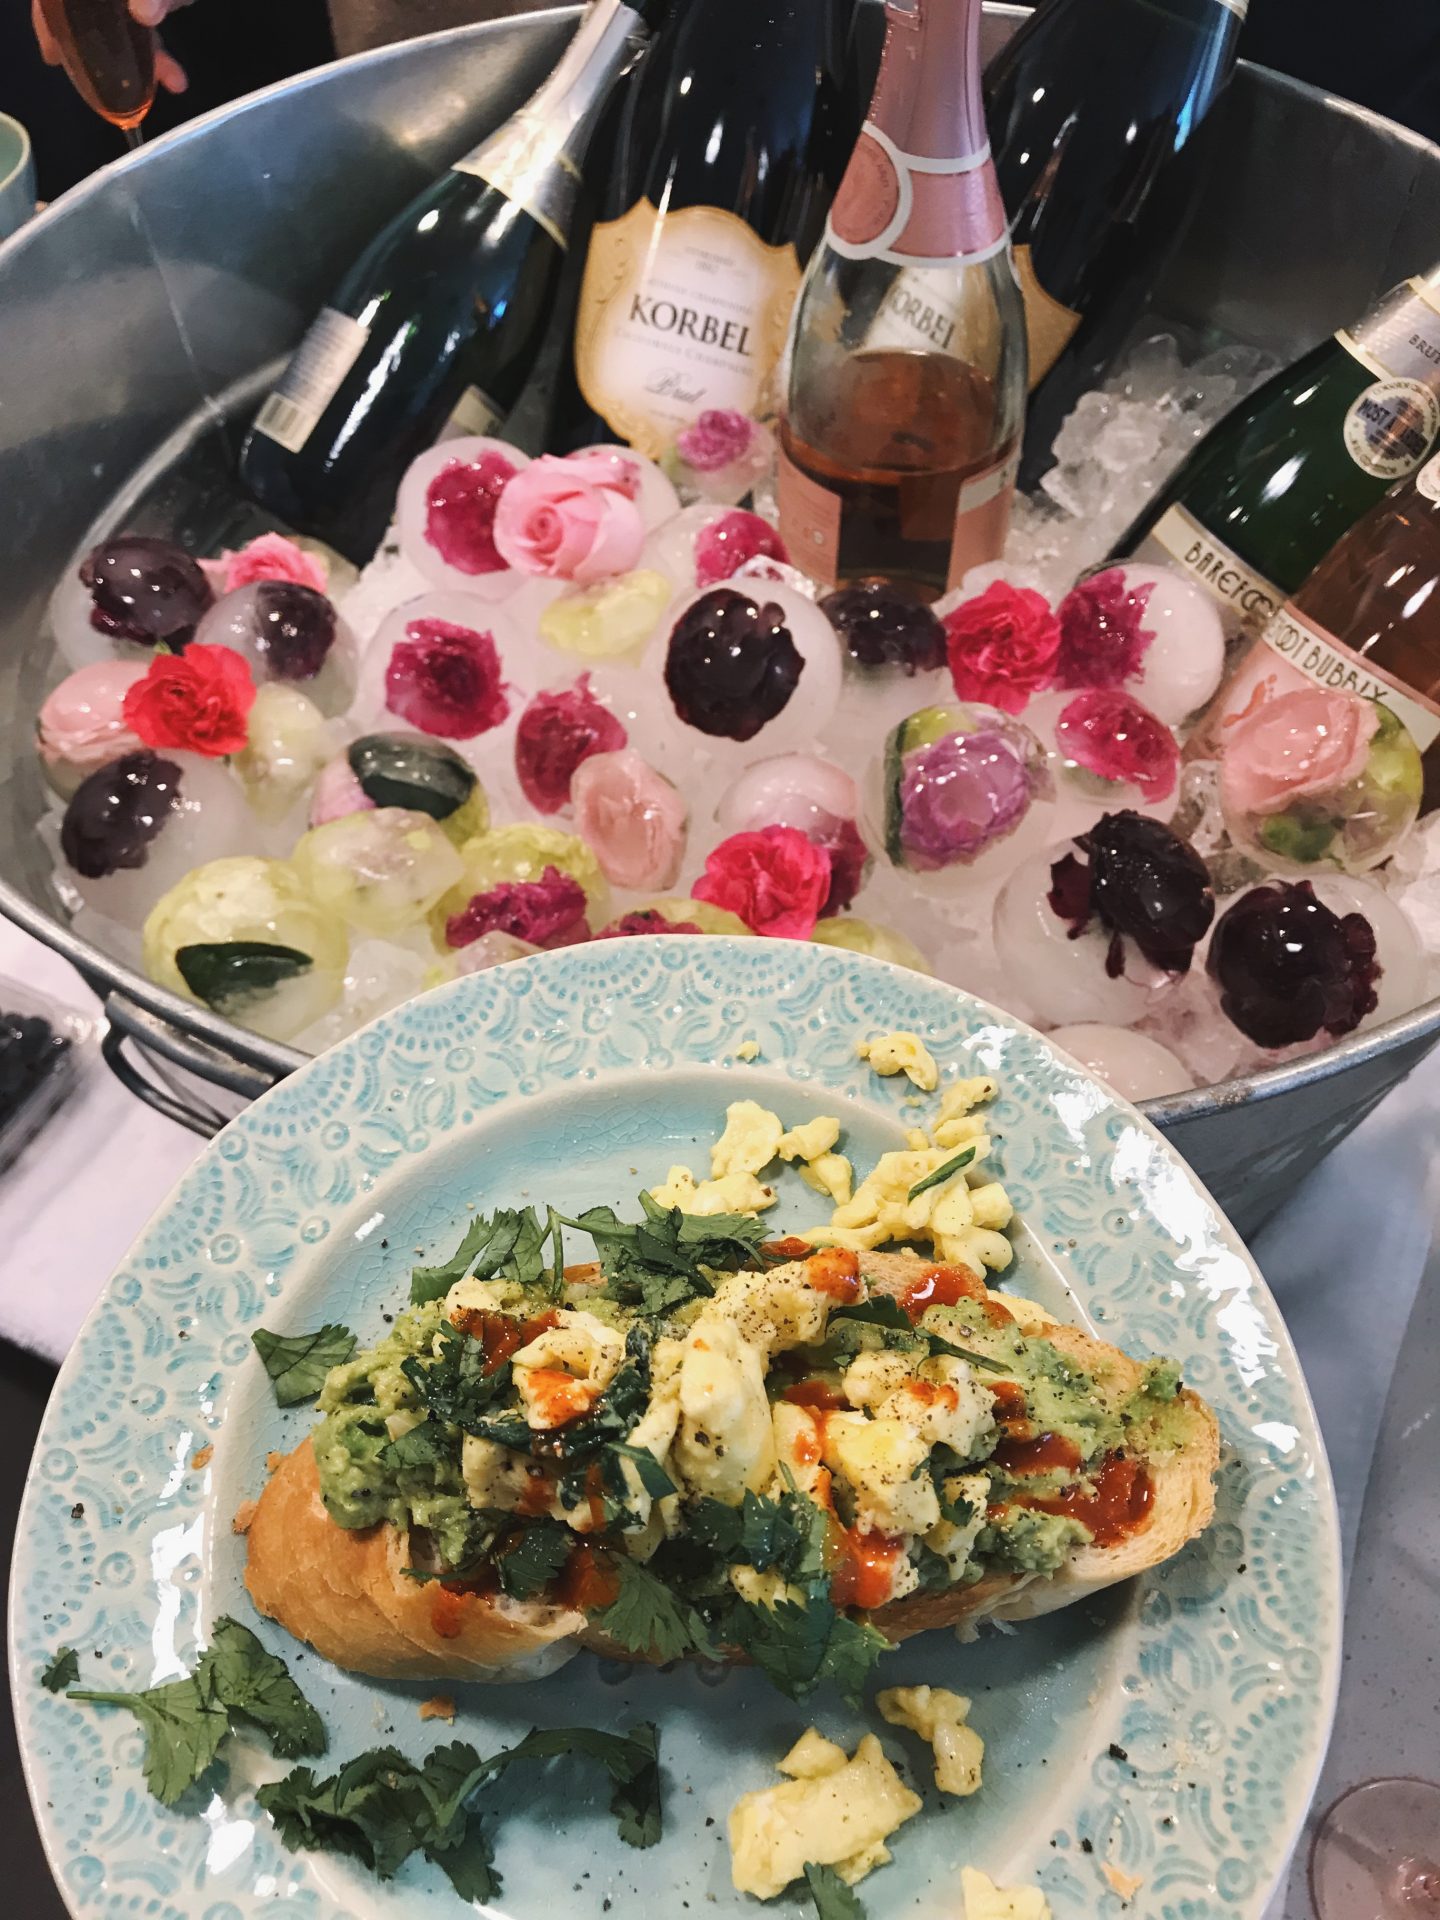
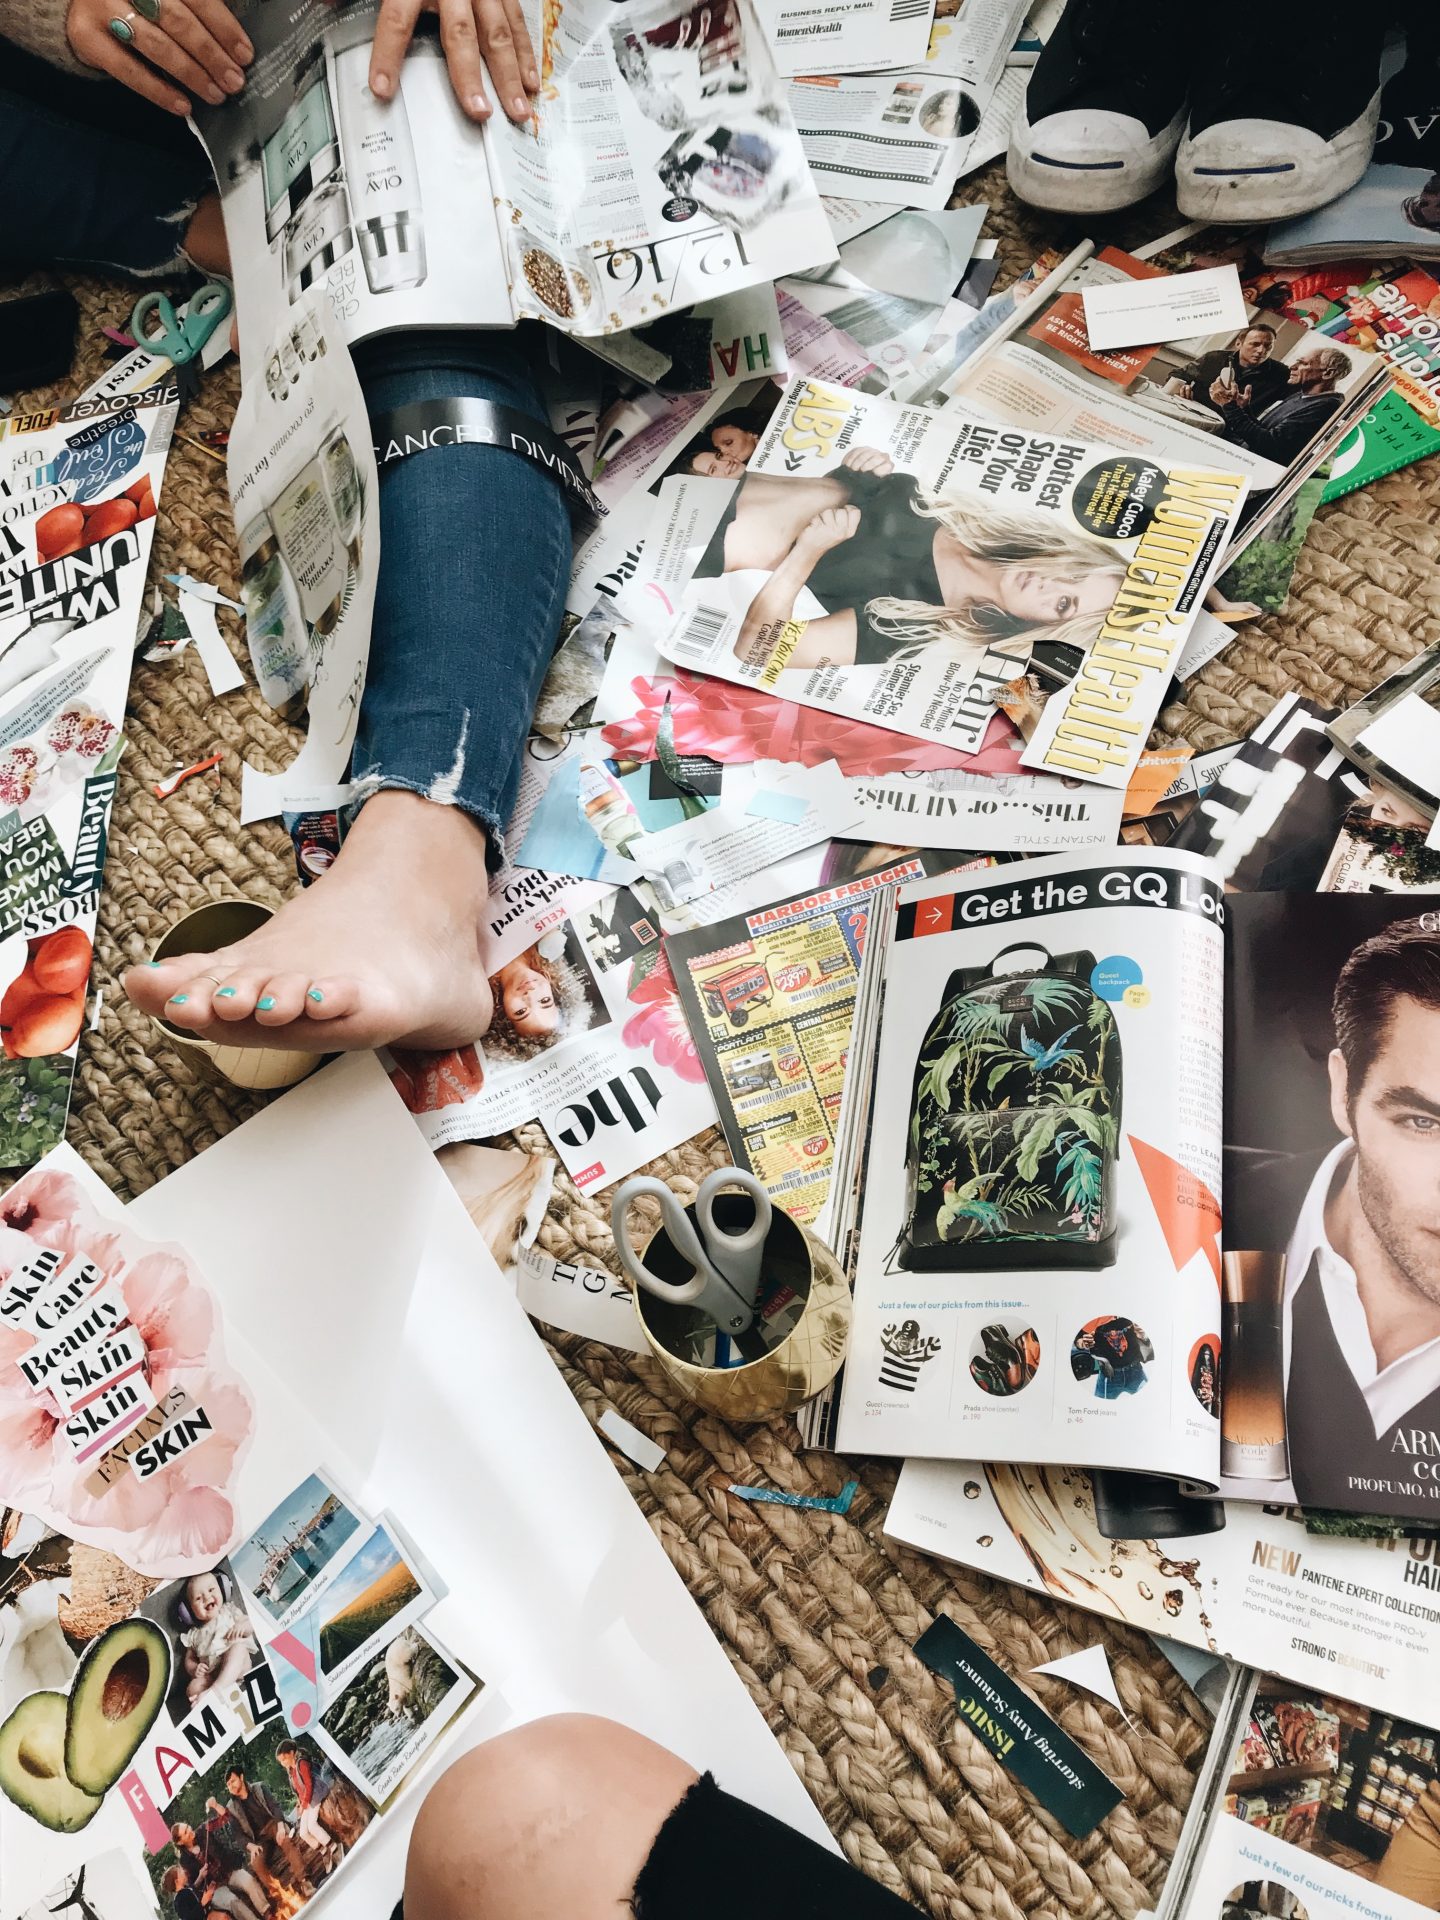
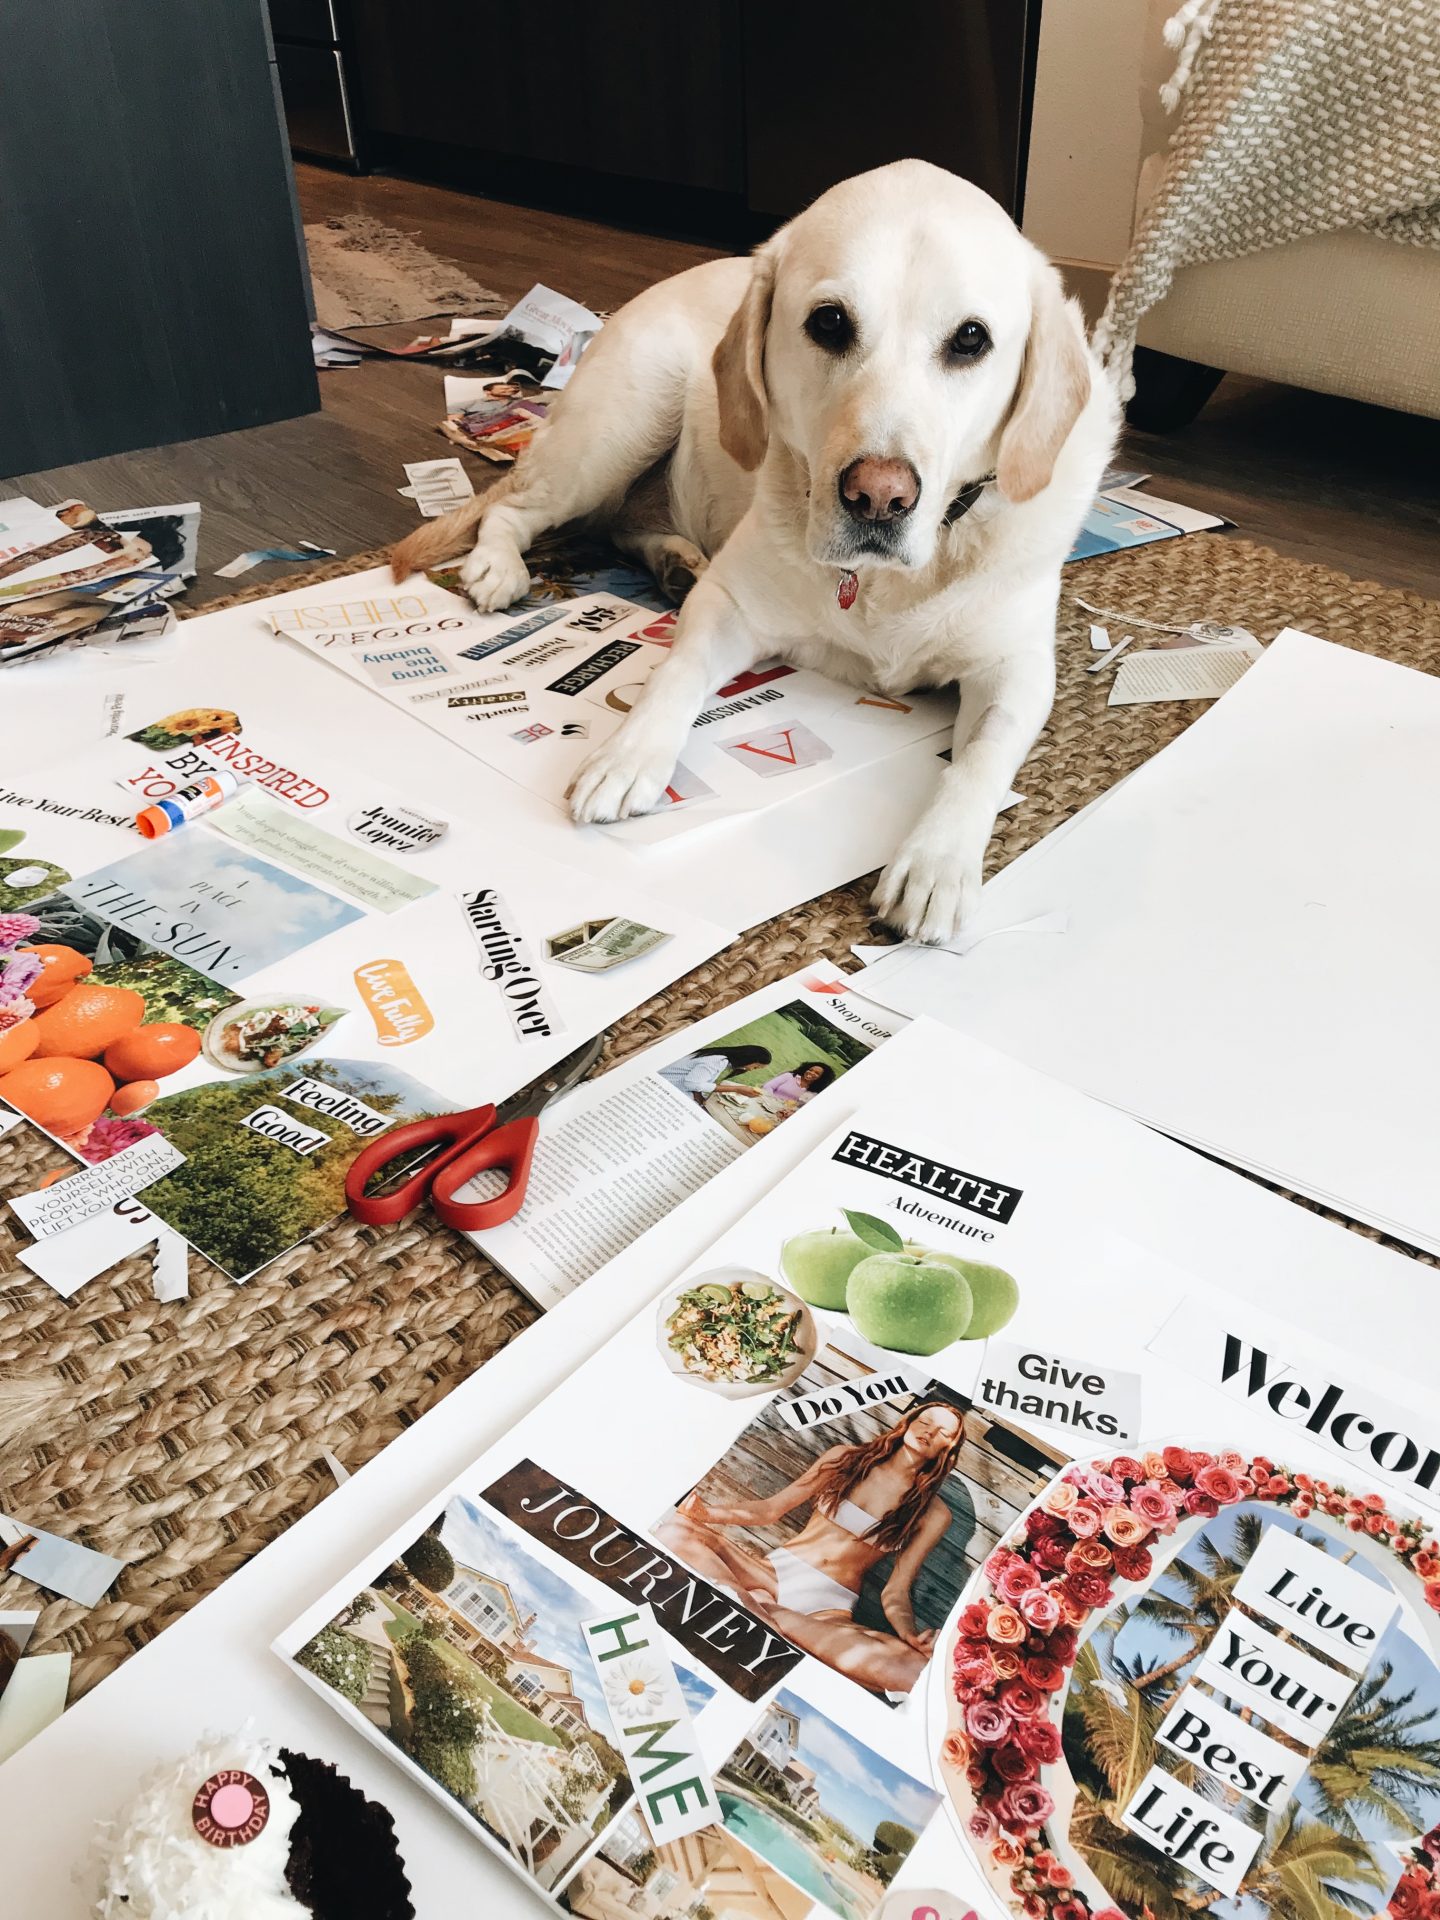
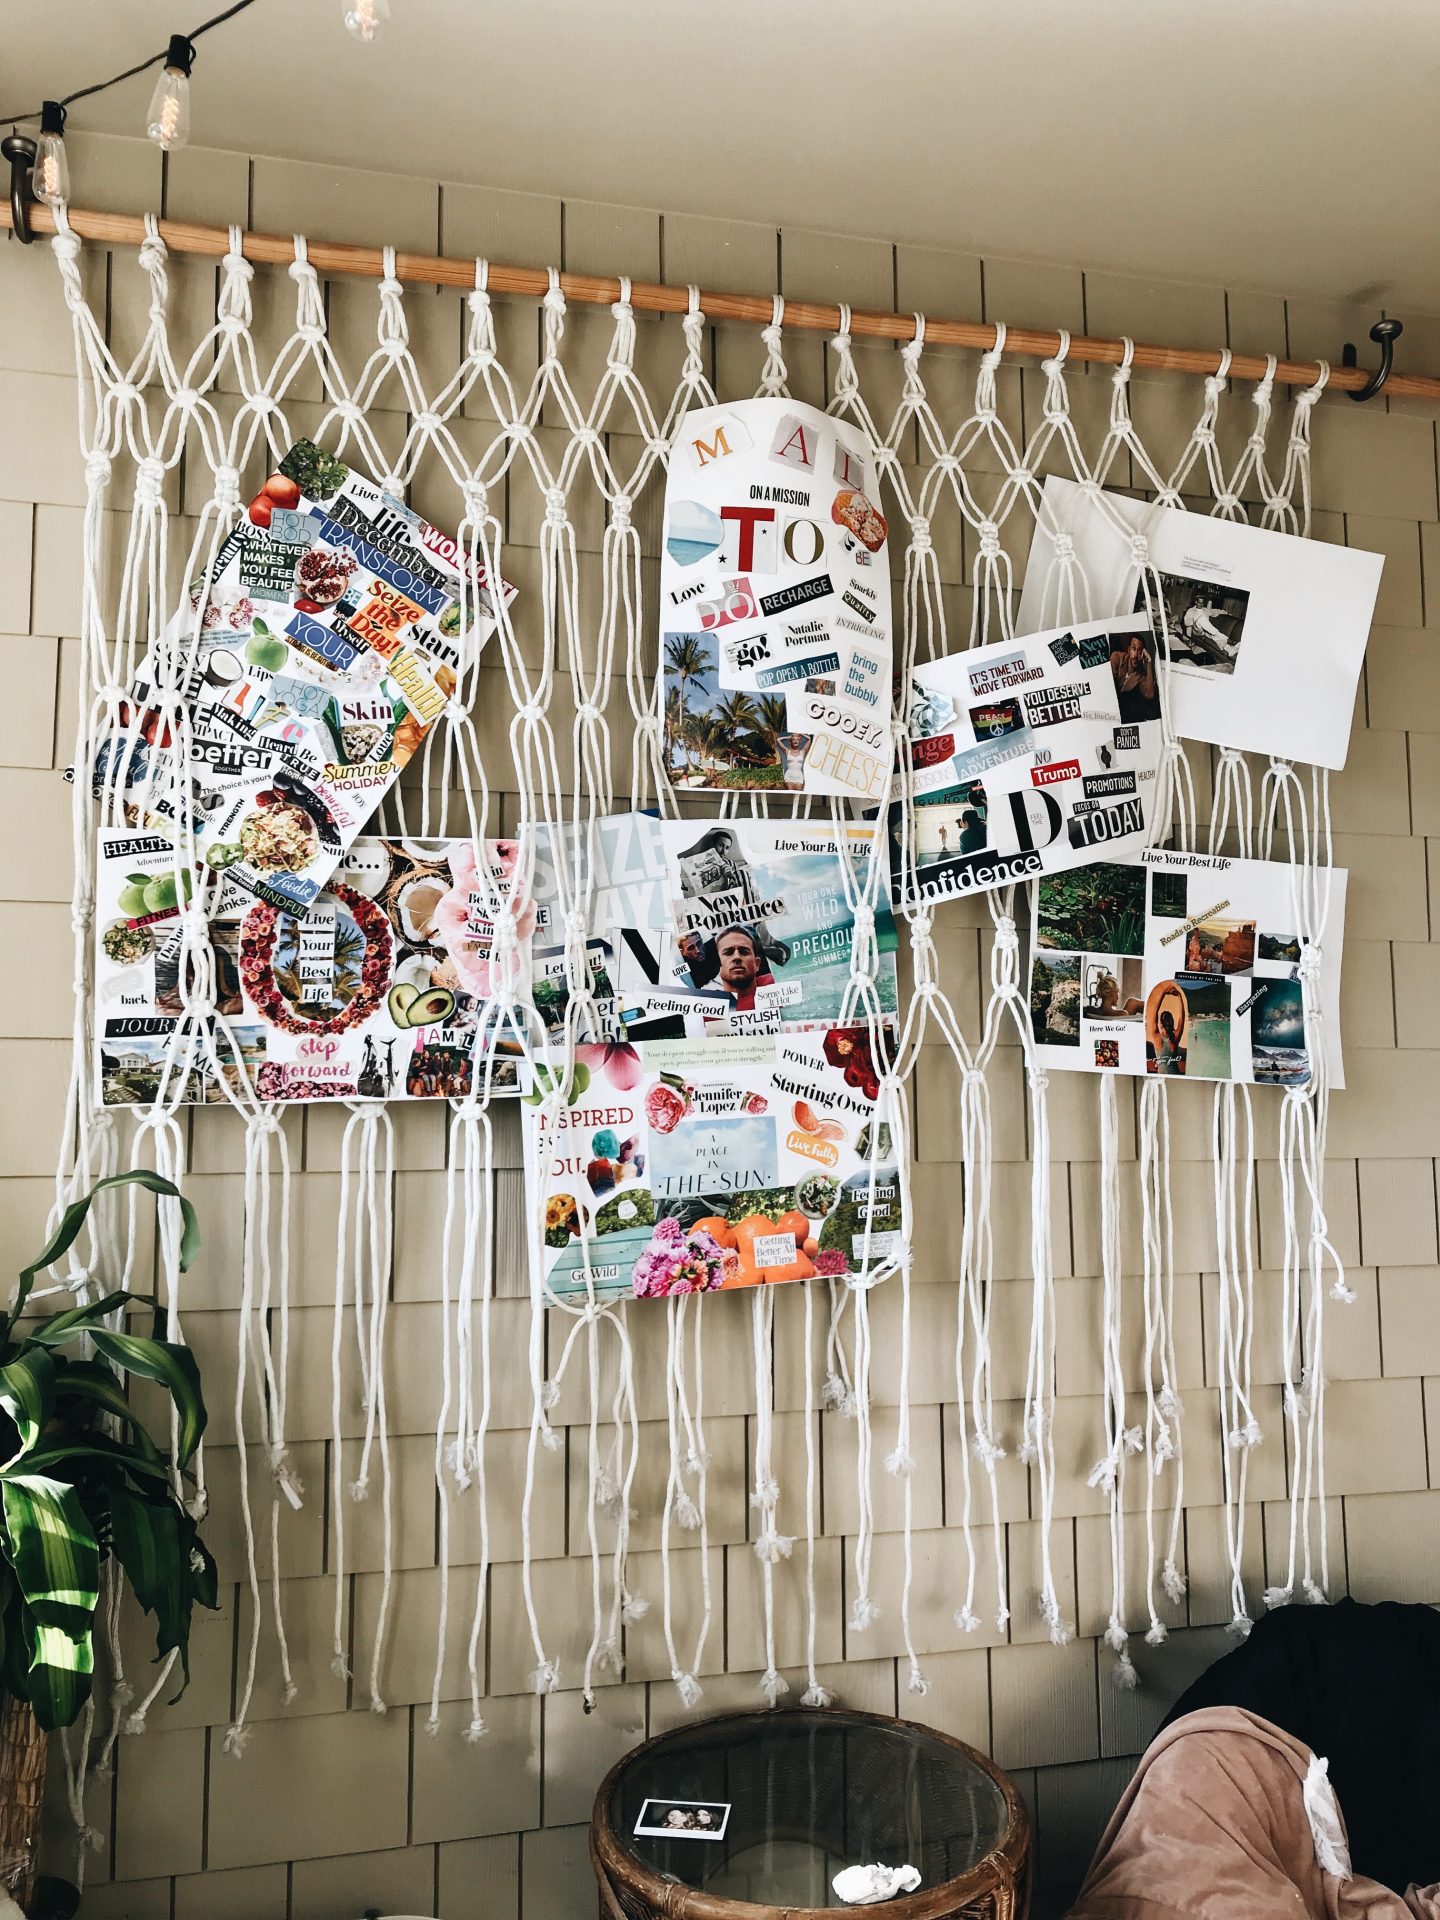
We started the day at my church, and was so happy to see how many of my gf’s joined! Not just because they came to church, but the fact they got up realll early to be somewhere at 9AM on a Sunday. True friendship. Everyone came back to my place after to have some mimosas and avocado toast while we made vision boards. We ended the afternoon in the hot tub.. with more bubbly.

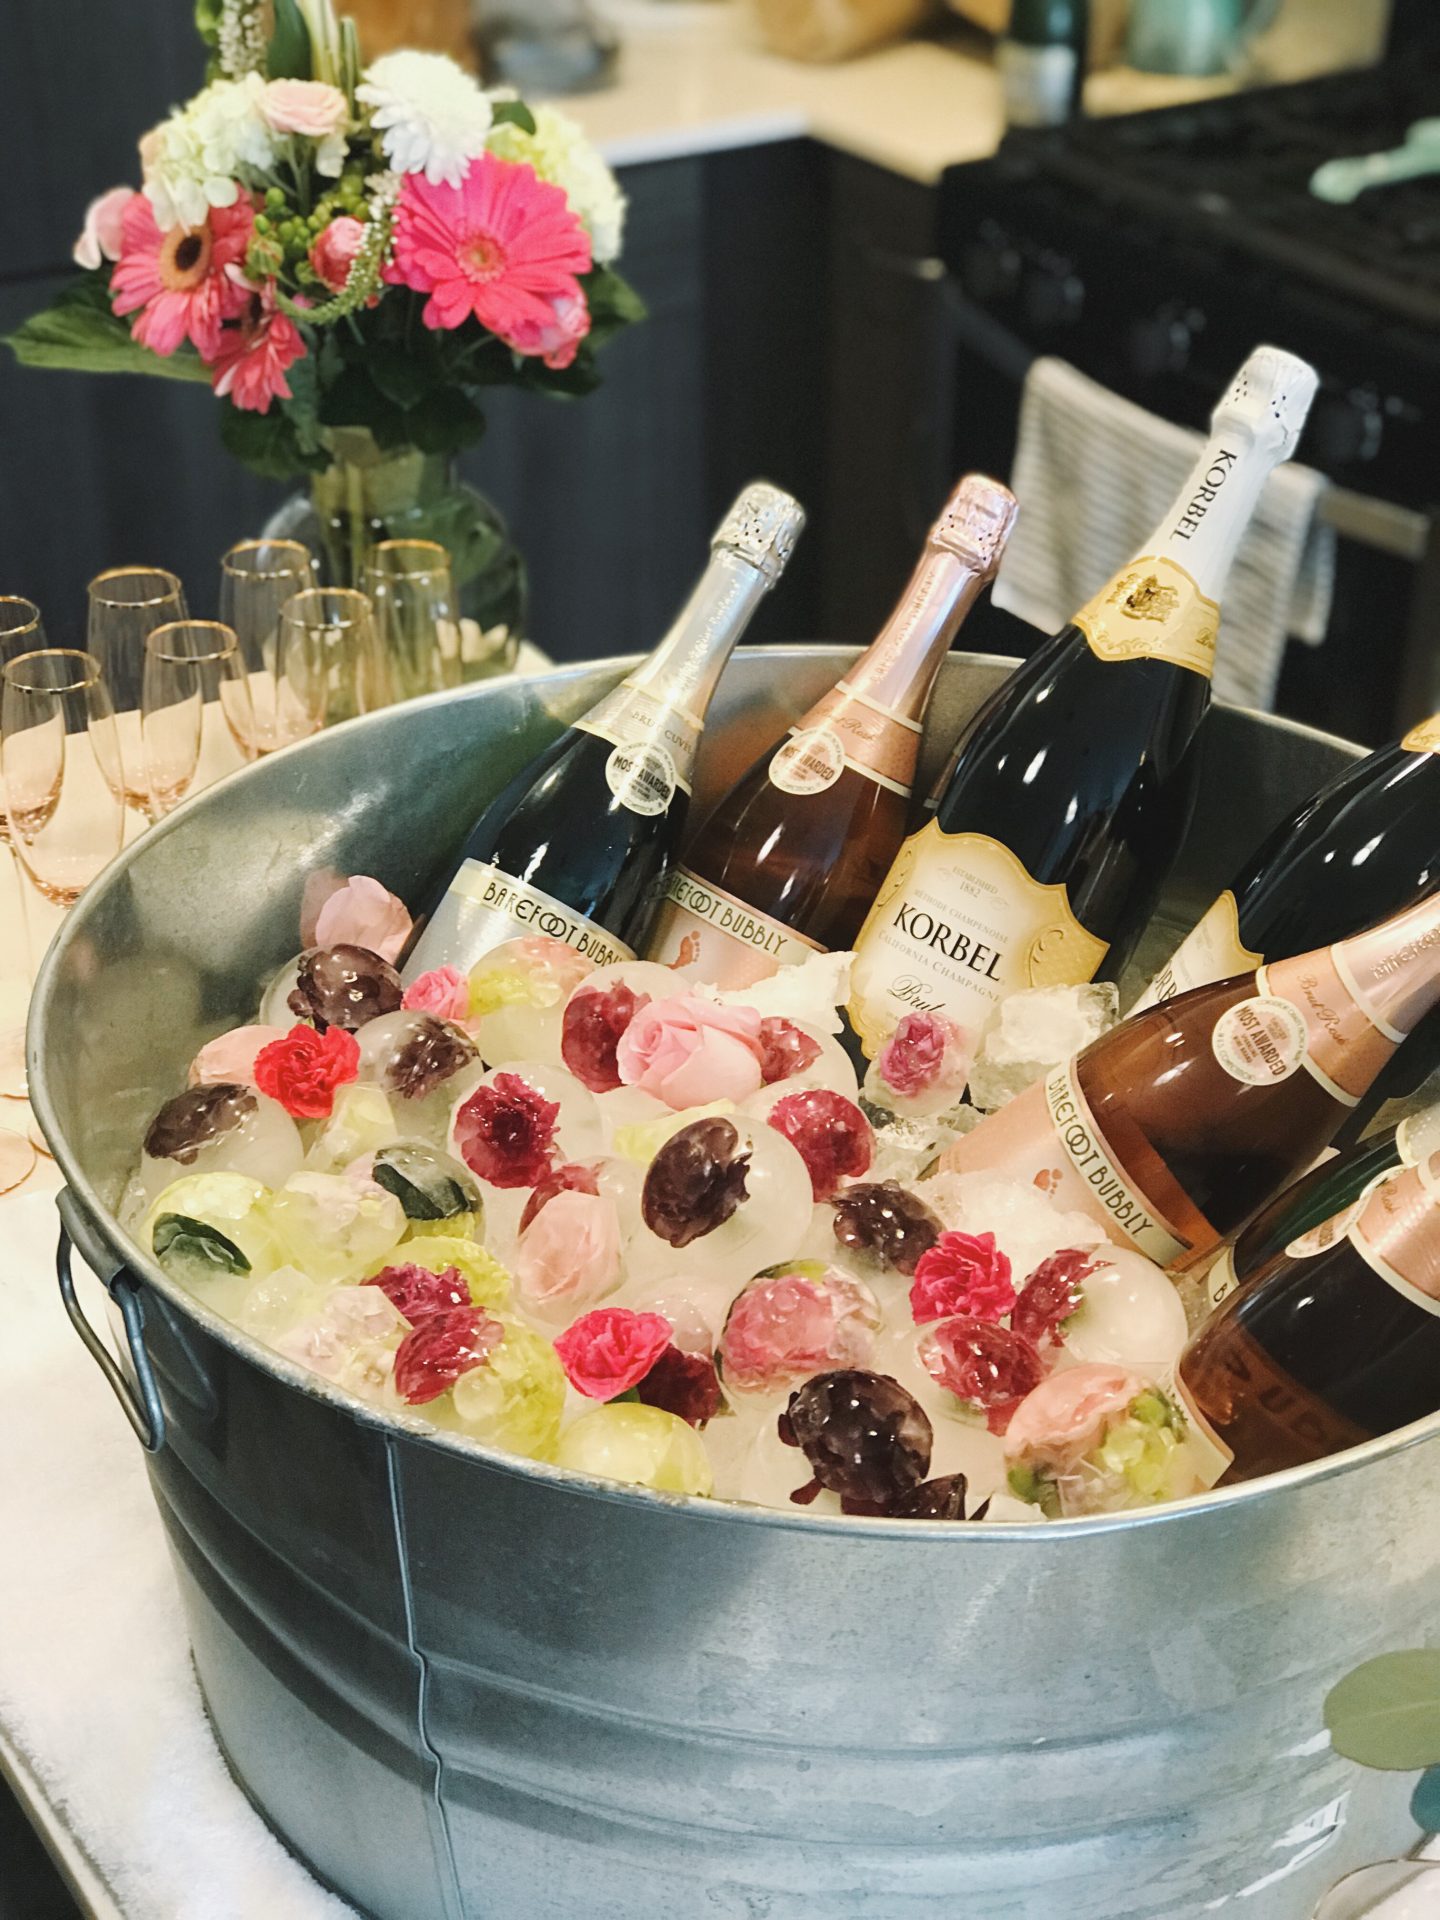
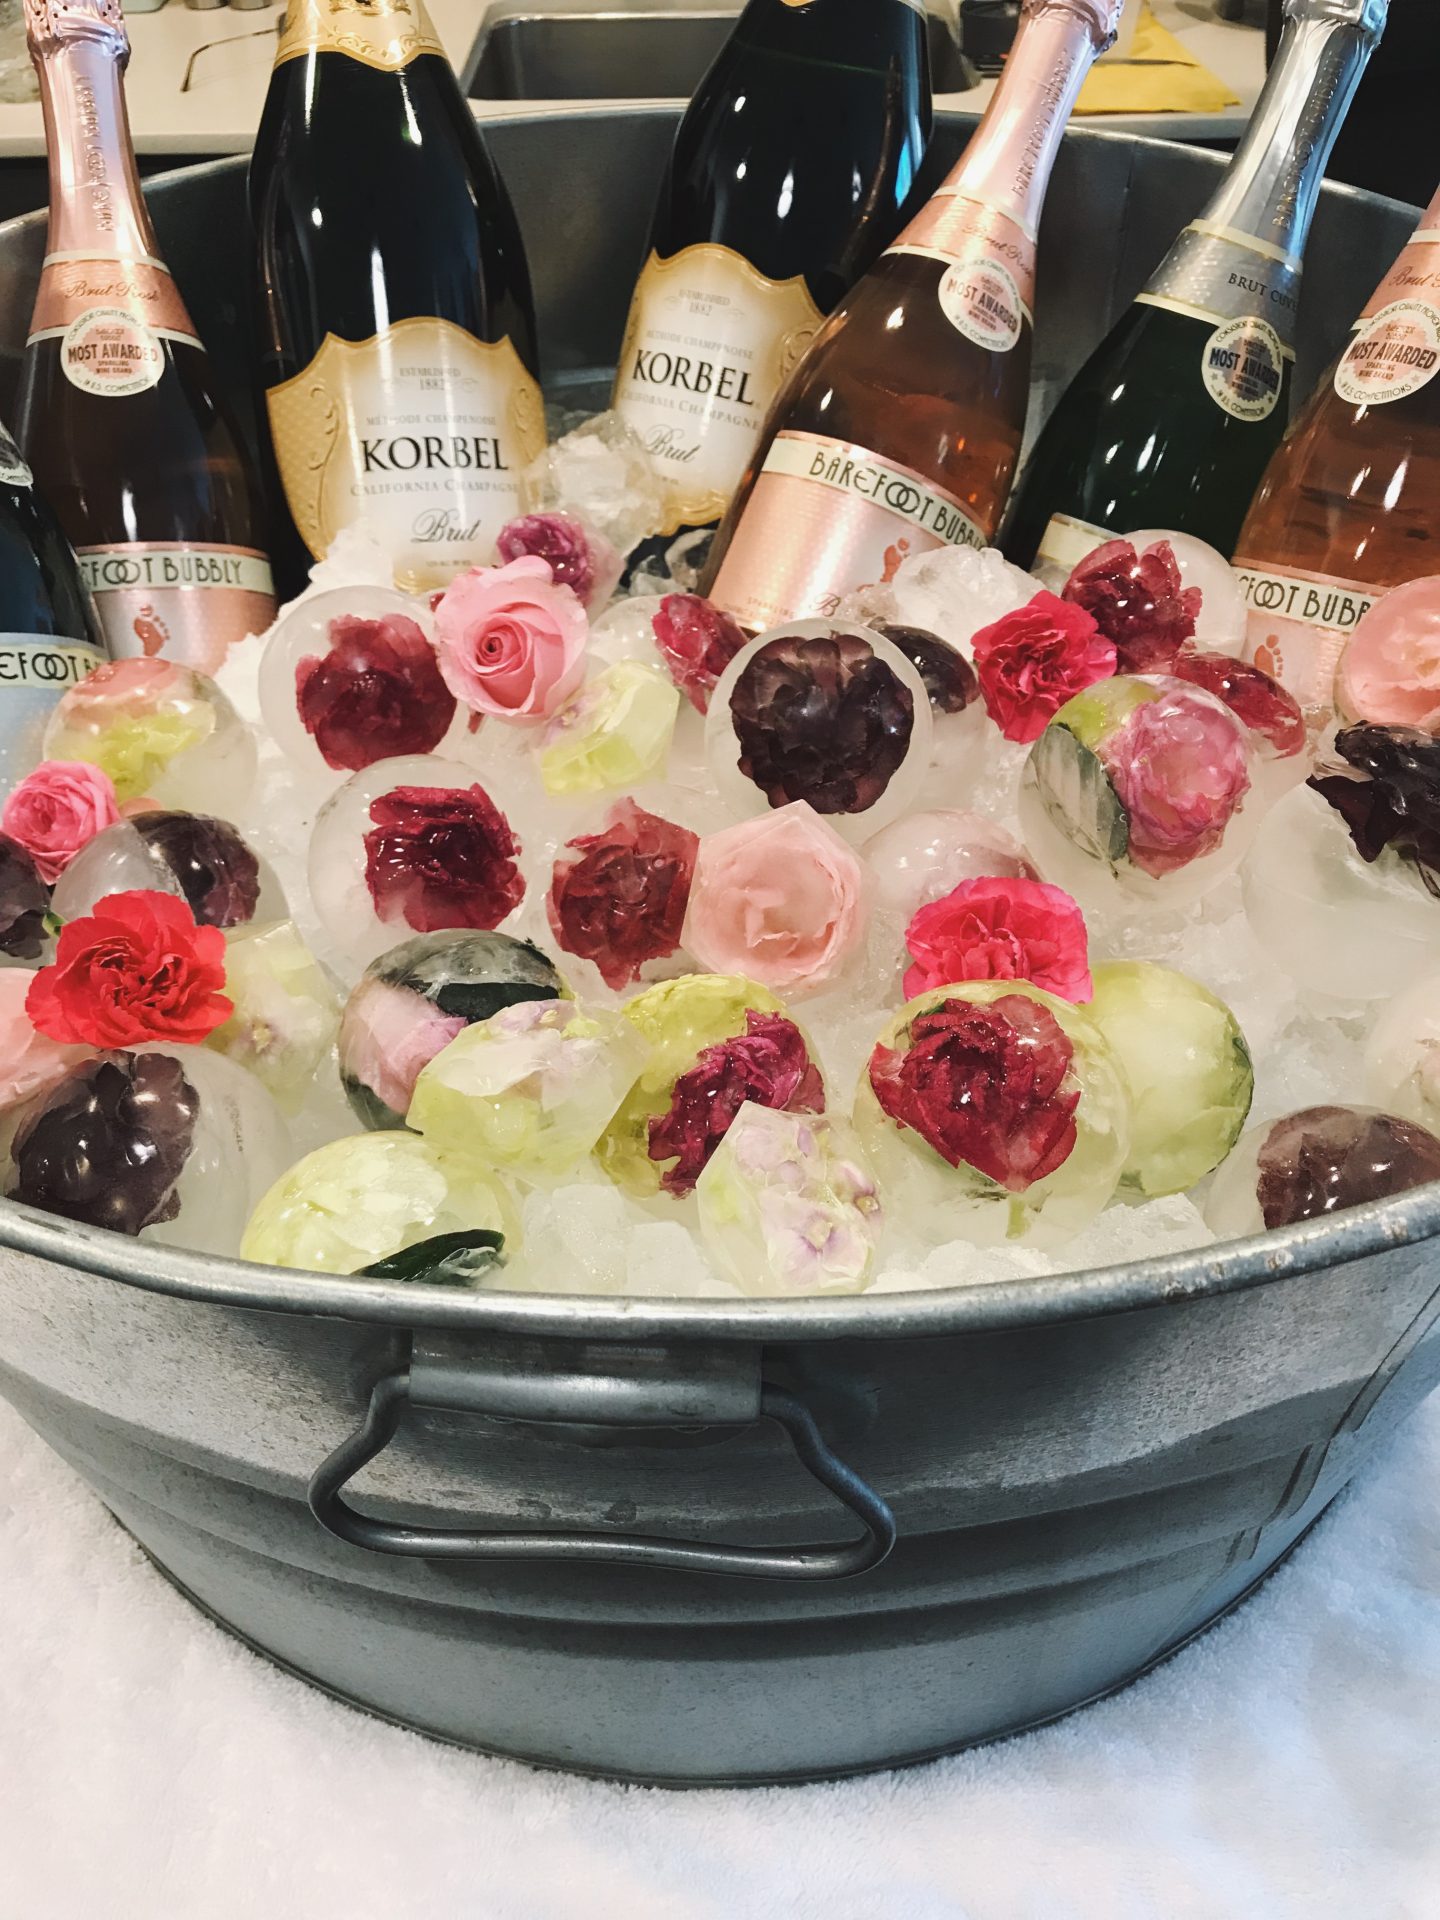
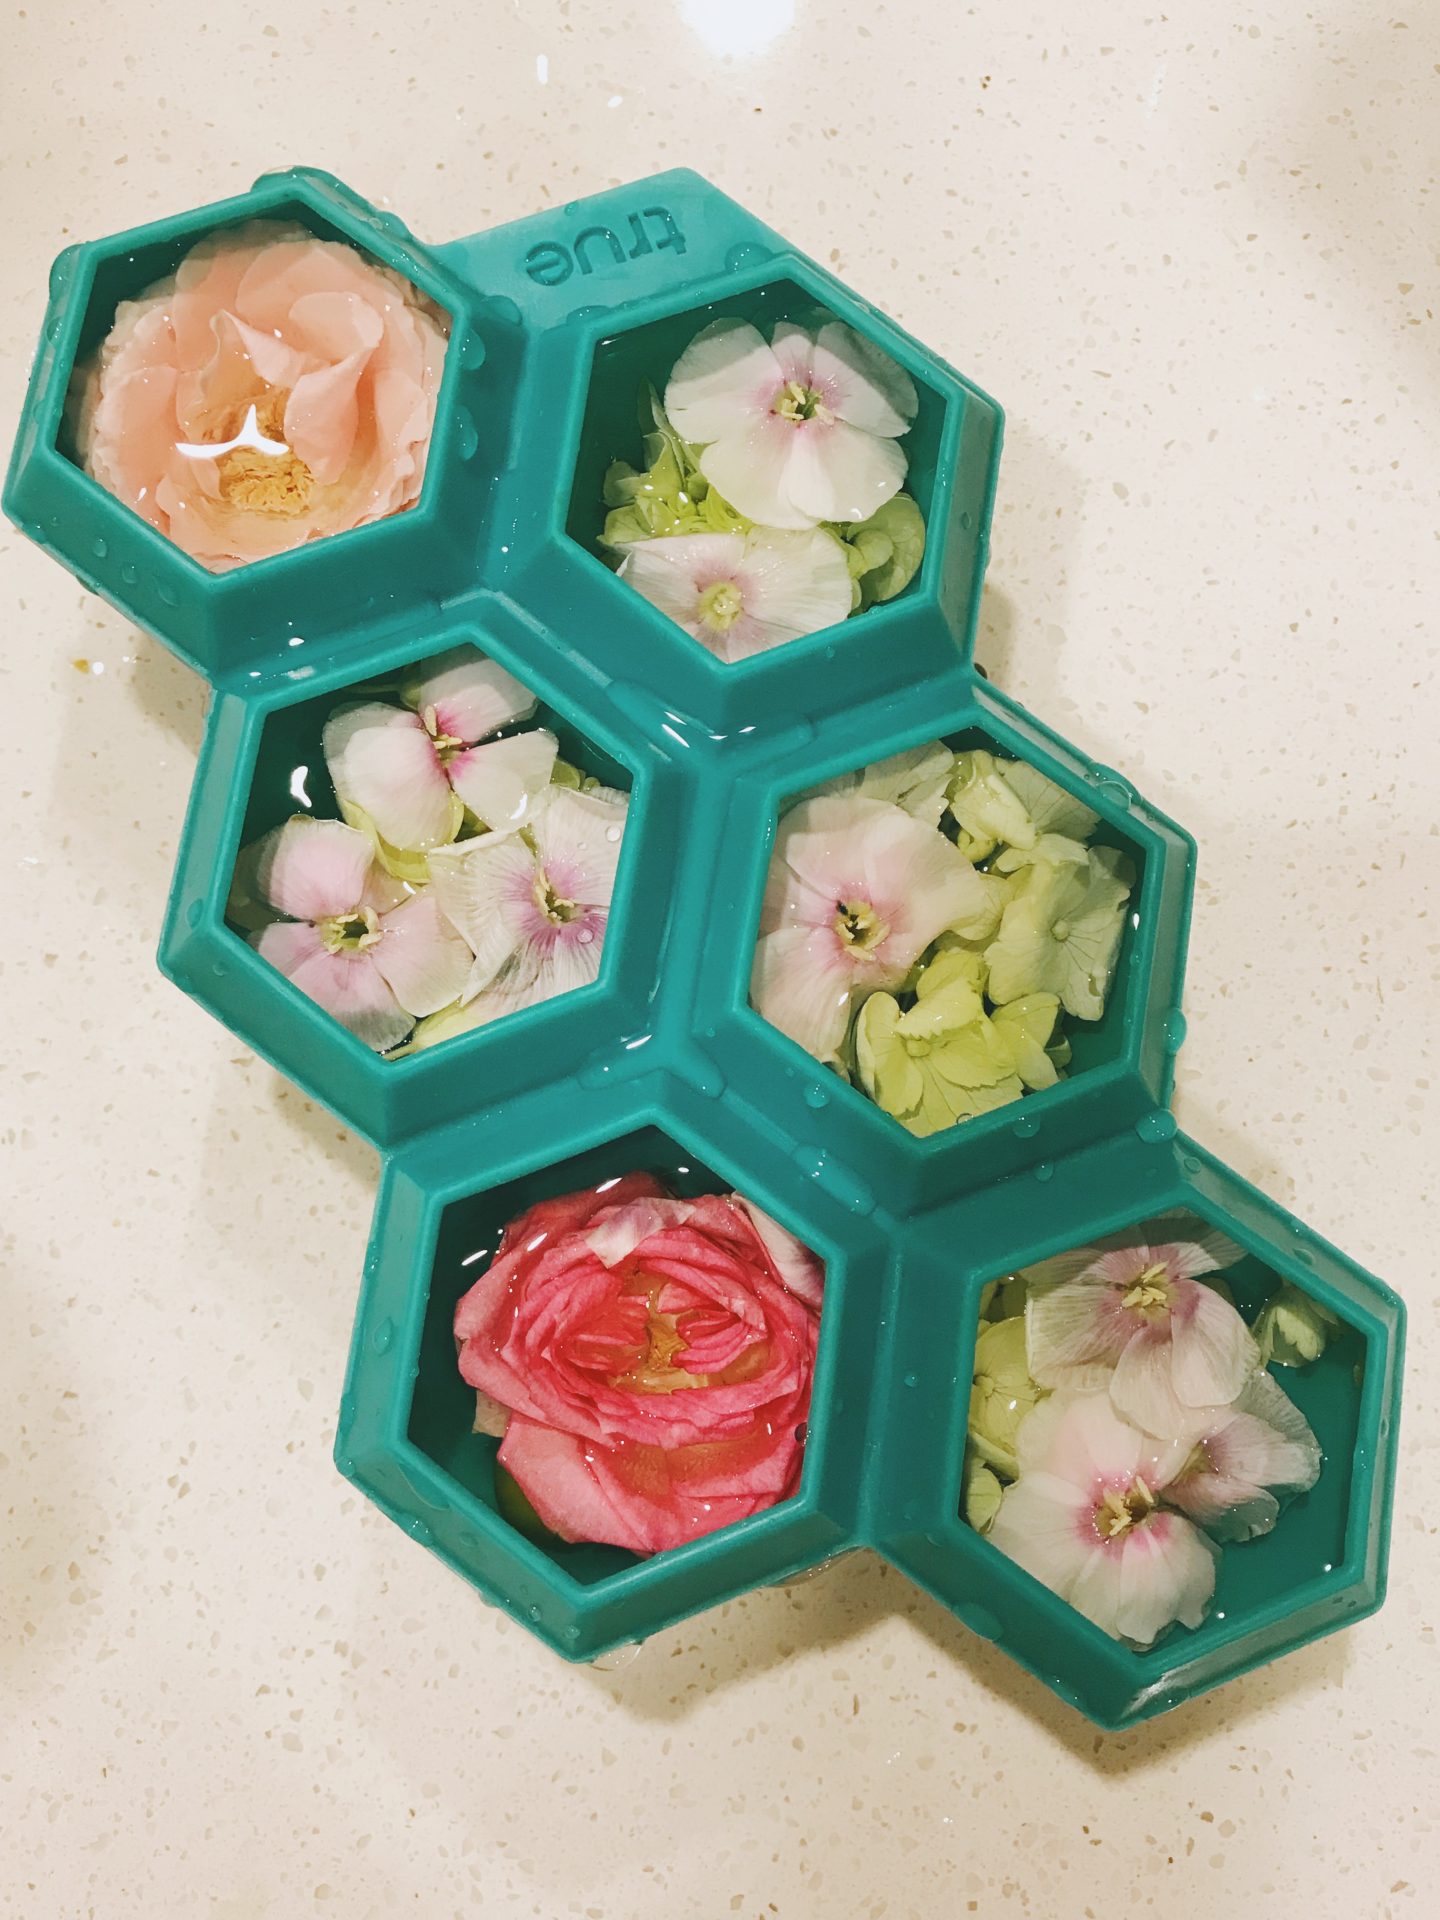
The floral ice was something I’ve always wanted to do, and made such a pretty touch to the party. It was actually super simple and all you need is ice molds and your choice of florals. I used a small bouquet from the grocery store of non-edible flowers, but you can get edible ones if you wanted to add them inside beverages. 

Not only was this fun, but it was a cost effective. Birthday’s are always a great excuse to get your best friends together for a trip, a new adventure, wine tasting, etc. BUT they don’t always have to be extravagant or cost a lot to be successful, and this perfect little day was a testament to that. 

All You Need:

Vision Boards

  • Poster boards ($0.40 each at Target)
  • 2 backs of glue sticks ($3 at Target)
  • 2 3-packs of kids scissors ($6 at Target)
  • Magazines (my mom has a million subscriptions, so we had plenty. If you don’t have any, ask each girl to bring 1-2 magazines with them)

Floral Ice

  • Flowers
  • Ice molds. I had 3 sphere shaped molds from our wedding registry, and a diamond one from my bridal shower. You can use traditional ice trays, which will work just as great.
  • * tip * the flowers rise, so keep them face up in an ice tray. If you’re using a sphere or cube mold, they usually have a hole to fill. Put the flower in face up to that hole. This lets you see the flowers more when turned to ice. Also, when you pull all the ice out for display, pour a little bit of cold water over the top so they POP with extra color. 

Avocado Toast

  • Avocados
  • 2 loaves of fresh sourdough from the bakery
  • Eggs
  • Cilantro
  • Butter and garlic
  • Lemon pepper + tapatio (or any spices/sauces your love!)

Cut sourdough into slices, lay out on two large baking sheets. Melt butter in a bowl, chop garlic and stir together. Spread butter onto sourdough, broil on 400 for about 10-15 minutes or until slightly browned. Scramble a dozen eggs and keep warm on stove. Chop cilantro and place in bowl with spices and sauces for everyone self servce and dress up themselves! Easy and DELISH!! 


To cut the cost even more, you could ask your girls to bring a bottle of champagne and you’re set for the day. This was so much fun to get all the bests together to set intentions, goals and dreams. Doesn’t have to be a birthday, but I would encourage anyone to get your tribe together for a fun day like this too!